Viewing your Schedule
The My Schedule page provides an overview of your assigned shifts as well as unassigned shifts which are offered to and/or available to you. By default, your assigned shifts from all units are displayed, but you can choose to view shifts from a specific unit when desired. Any unit to which you are assigned will appear in the unit selector drop down. A special "Non-trained" unit shows you any shifts assigned or offers made from other units within your geographic area.
To view your schedule:
- Click the My Schedule link from the Scheduling menu bar option.
- You can select a specific unit by selecting from the unit drop-down.
Note: You cannot normally access (or be assigned) shifts for any units which you are not associated with. If you need to be assigned to work in another unit, your Sparkrock 2016 administrator and/or Schedule Administrator must perform this action. In special circumstances, you may be assigned a shift within your scheduling area, even if you are not associated with that unit. You can access any such assigned shifts from other units by selecting ALL or Non-trained from the unit selector. - You can view your assigned shifts in a list (agenda) view—on the default My Shifts tab—or in a calendar view. The list view shows your shifts one week at a time. The calendar view can show your shifts for a day, a week, or a month. Basic information about each shift is shown.
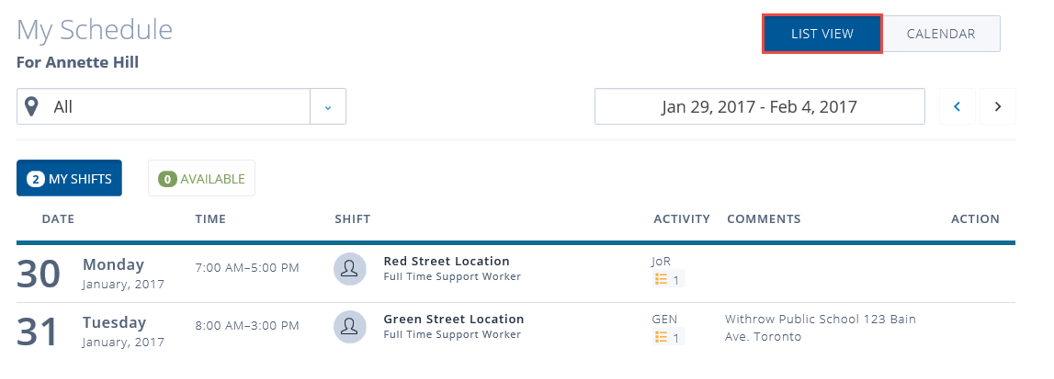
- Click a specific shift to access the Shift Detail page. Here you can view details of each shift or take available actions, where available.
Discovering Available Shifts
You are able to discover vacant (unassigned) shifts you may wish to accept.
To discover available shifts:
- From the My Schedule page’s list view, select a unit, and click on Available.
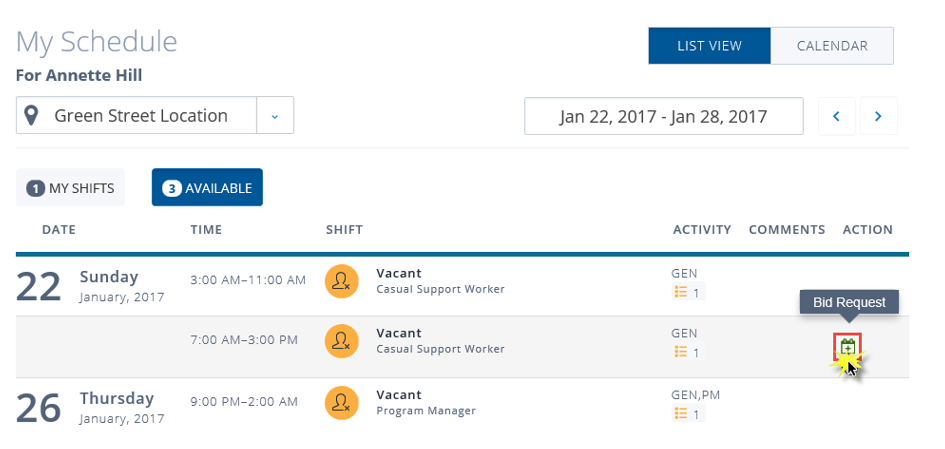
Note: Available shifts cannot be seen in the calendar view. In addition, the Available tab is not accessible when ALL has been selected from the Unit drop-down. When Non-trained is selected, only offered shifts re shown on the Available tab.- Shifts which are not available to you (for example, because they conflict with an assigned shift or a scheduled training session) are not displayed.
- If an available shift has existing bids, those are indicated on that shift’s row in the list. This information can help you to decide whether to bid on a specific shift.
- If a Unit is configured to allow bids, then you can bid on an available shift. To bid from the My Schedule list view, click the Bid icon in the Action column.

- You can also bid on an available shift by clicking the Bid button on the Shift Details page.

When you click the Bid icon or Bid button you will receive a Bid Request confirmation message.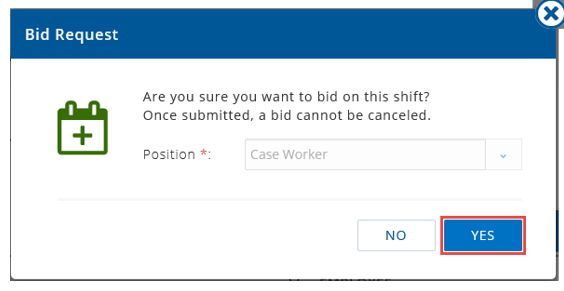
- Click Yes.
- This action alerts the unit supervisor that you are willing to work the shift. The unit supervisor will decide whether to accept your bid, someone else's, or leave the shift vacant.
Creating New Shifts
When permitted by your unit employee permissions, you may be able to create a new shift for yourself to capture an unscheduled work period. If you have the necessary permissions for the currently selected Unit, you will see a New Shift button on the My Schedule page, above the List View / Calendar buttons.
- Click the New Shift button to open a dialog that gathers basic details for the new shift.
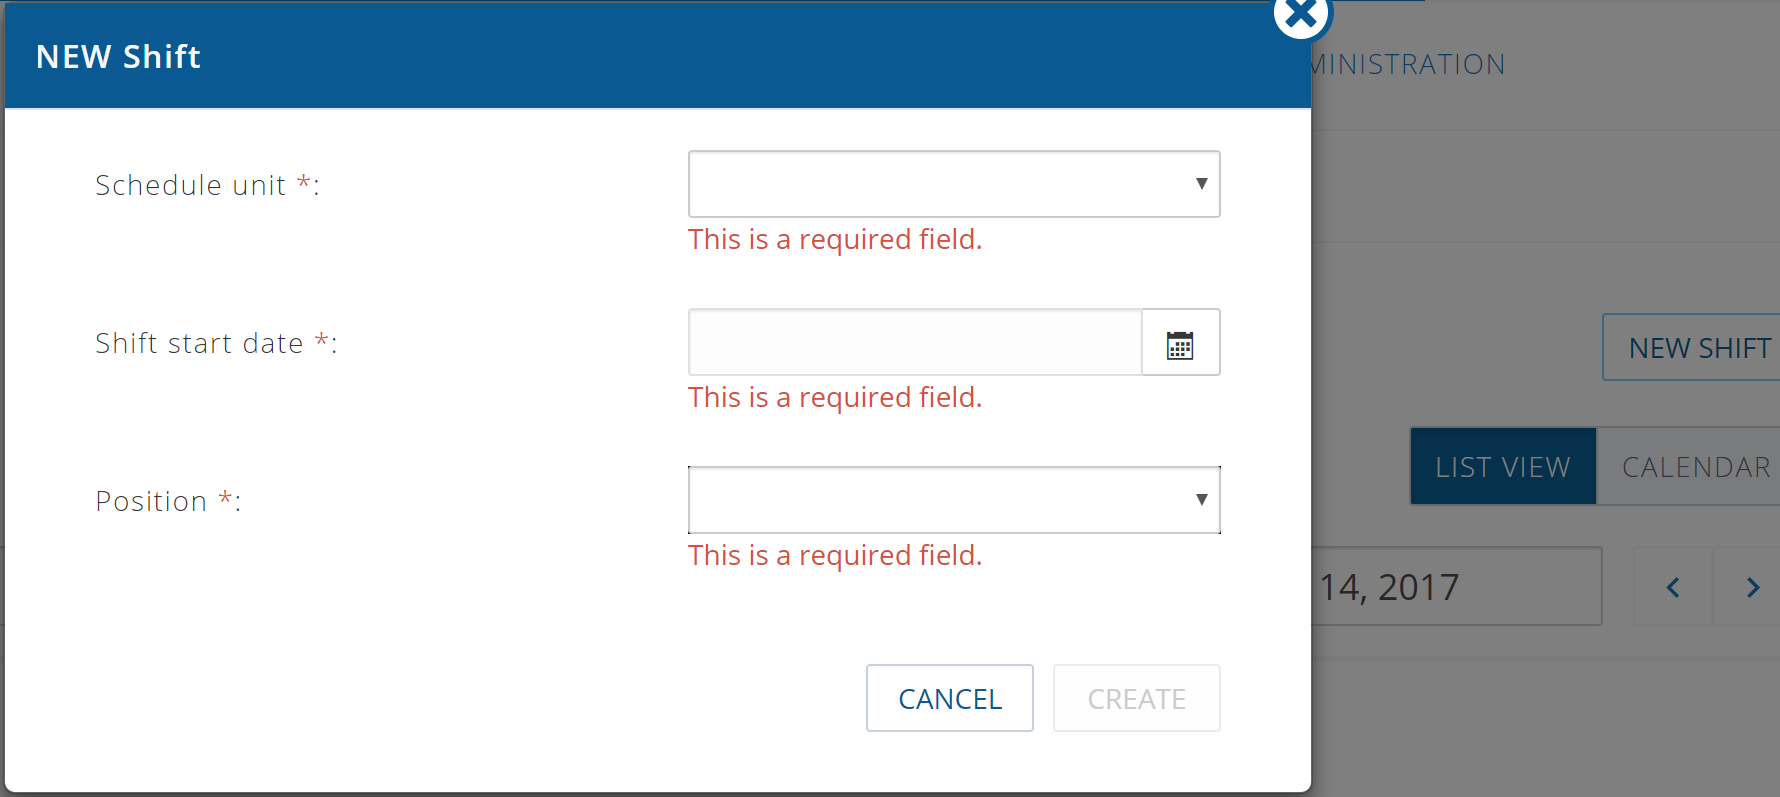
- Select the applicable unit. You can choose from the subset of your assigned units that permit employees to create shifts.
- Choose a date for the shift. Only dates within a certain date range (as configured for your unit) will be selectable.
- Select the position that should be assigned to the shift.
- Click Create.
The Shift Detail page will open, pre-populating the selected values and setting other defaults (such as Payroll Control) based on those choices. When created, the shift will have a duration of 0.00, which will cause an error message to display on the page:
The shift duration cannot be 0 or less.
This message is expected at this stage of the process. To correct this: - Enter the desired Start Time and End Time for the shift.
- If desired, add a comment explaining the reason for requesting the additional shift.
- Depending on your permissions, you may also be able to edit the activity section. If so, if your activity is different than the default, you may wish to change this as well.
- Press Request Change to send the shift request to the unit supervisor(s) for approval.
The shift will show on your schedule with the 0 duration and the Requested Change badge.
Once approved, the change badge and the duration error will clear, and your shift will be eligible to be confirmed and approved.
Note: If the New Shift button is not available to you on My Schedule, then you do not have the necessary permissions. Your unit supervisor(s) can create shifts on your behalf.
Reviewing and Accepting Offers
When a unit supervisor offers you a shift, you will receive an email notification with a link. You are able to review the offer and take the appropriate action depending on what you decide.
Note: the email address where the notification will go to is the one configured on the HR Employee Card in the E-Mail field.
To Review an offer:
- Follow the link in the email.
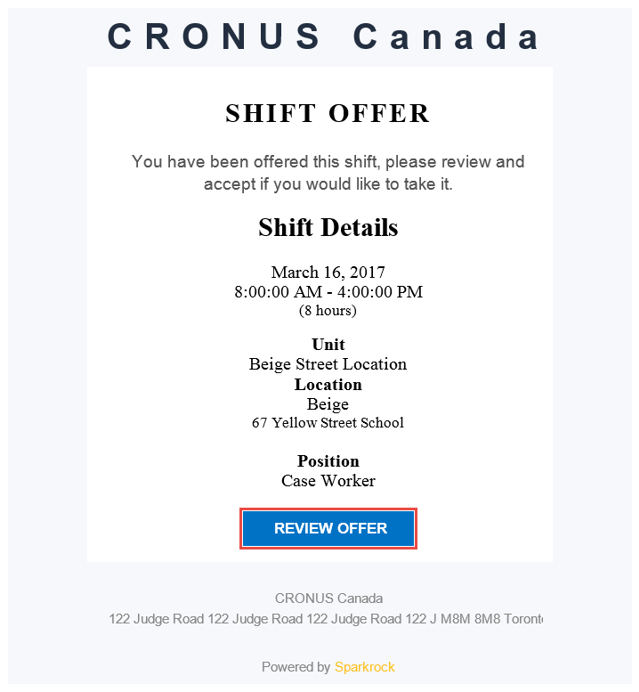
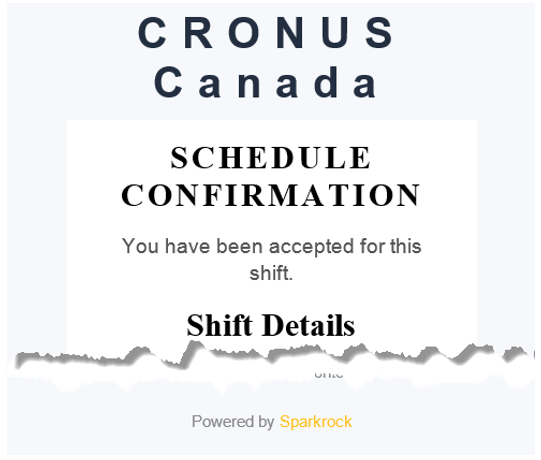
Employee Center will open and provide you with a Shift Detail page that describes the offered shift.
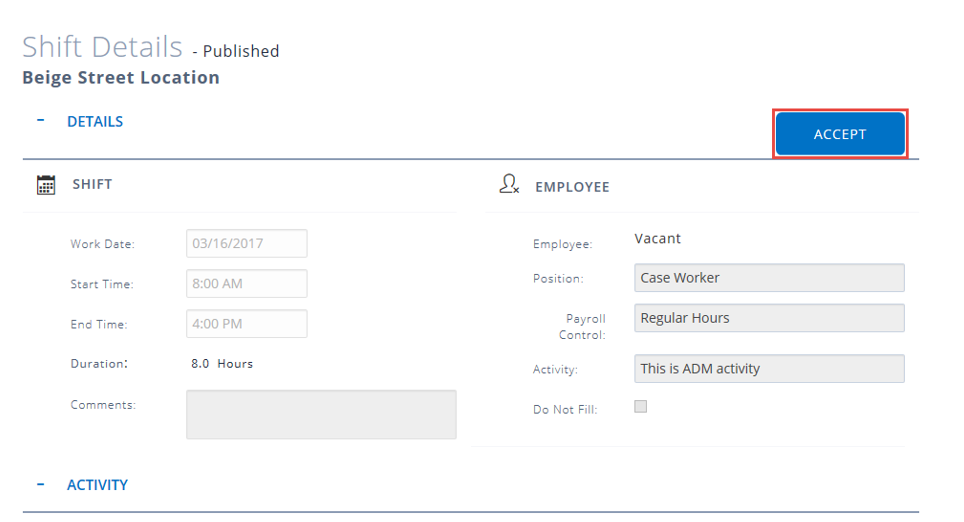
- After reviewing the details, click Accept to accept the shift.
- Once you accept there are two possible outcomes depending on the unit setup and configuration.
- If the unit supervisor has to approve your acceptance of the offer, your acceptance will respond as a bid and if/when the bid is approved by the unit supervisor, then it will be added to your schedule. You will receive a confirmation email if your bid is approved. For more details on how a bid is handled see Reviewing and accepting bids.
- Otherwise, configuration will be set up to auto approve. In this case the first person to accept will get the shift, and receive a confirmation email.
- You can also choose to take no action, in which case the offer will remain open until the shift is assigned to someone.
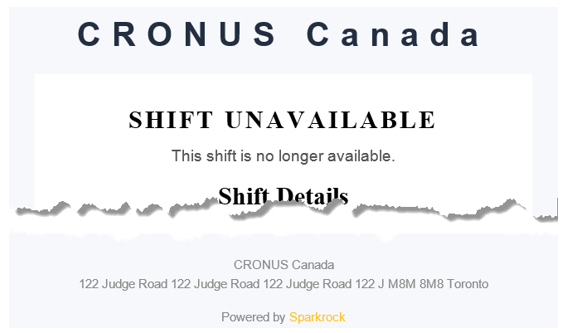
- Shifts can be offered to multiple employees. If you receive an email message which reports This shift is no longer available, the unit supervisor may have approved another employee’s bid or their response to the offer, or the shift may have been canceled.
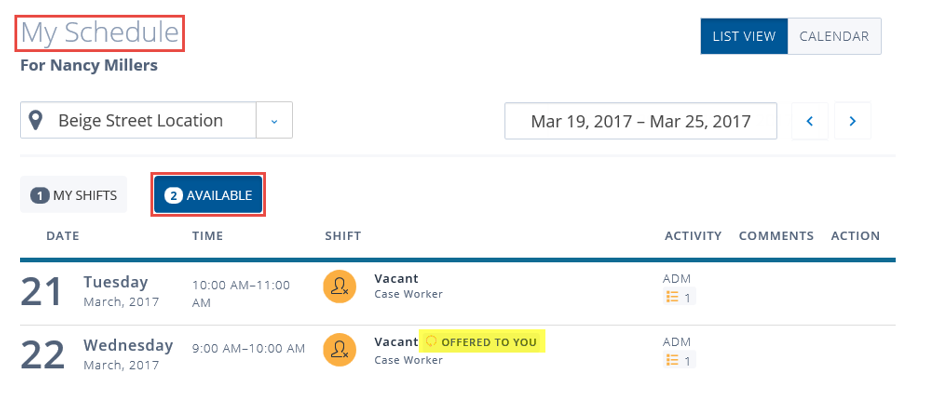
- At this time, a list of your open offers is not provided in Employee Center. However, you can review the list of Vacant shifts for a Unit using My Schedule, and the shifts which have been offered to you will be marked. Shift offers from any units to which you are not assigned will be grouped under the special "Non-trained" unit.
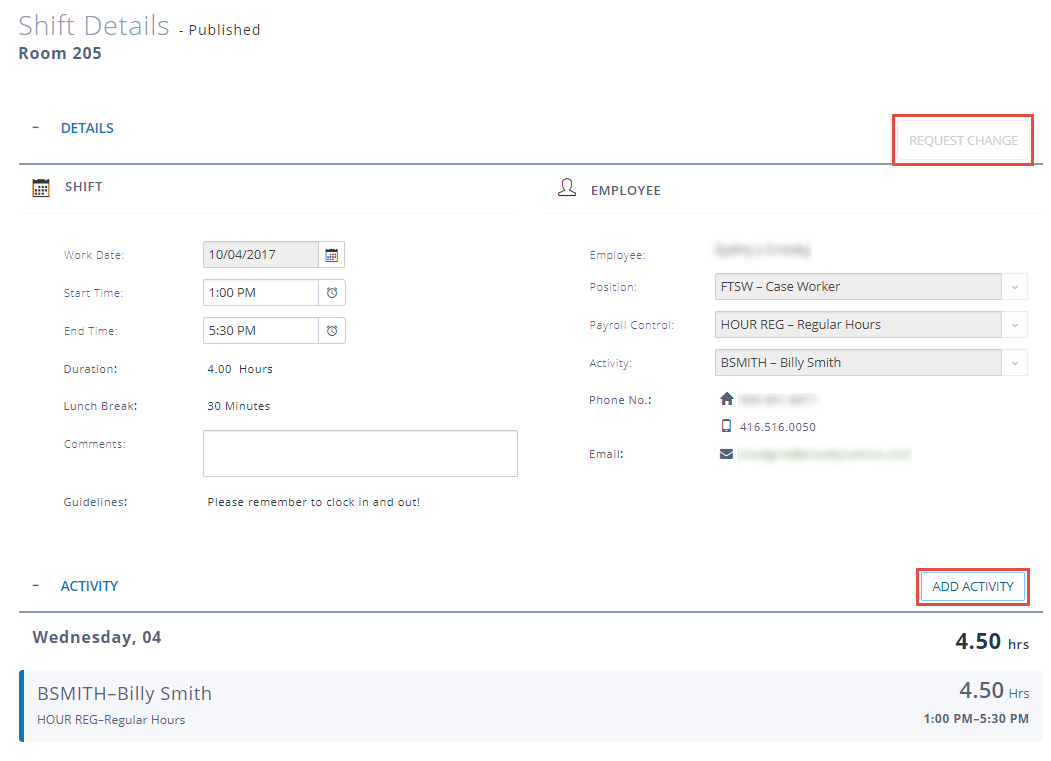
Requesting Changes
In some cases it is necessary to request changes to your shift. For example, you may be allowed to change the start and/or end times to reflect a late arrival or extra time worked. In some circumstances, you may also be able to change the work date within a limited range, although this capability must be specifically enabled on a unit by unit basis.
To request changes to a shift:
- Navigate to the Shift Detail page for the particular shift you want to change.
- Make the necessary time adjustments in the Details collapsible section.
- Add a comment explaining the reason for this request.
- Click Request Change.
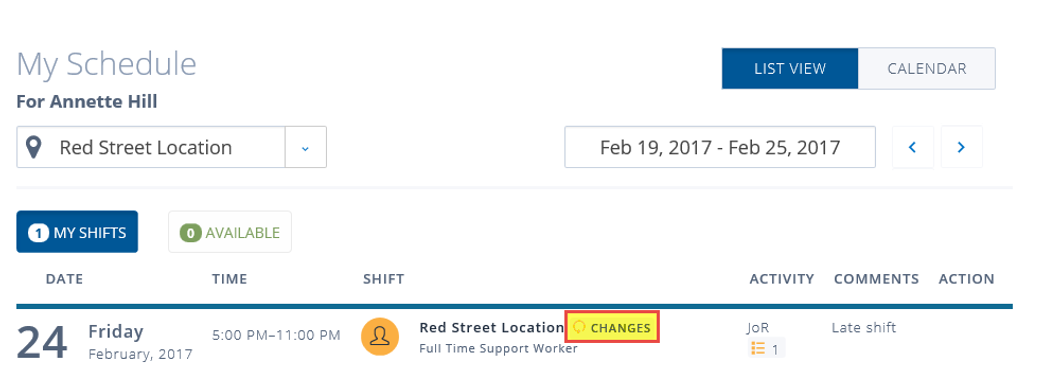
- This does not change the shift immediately. Instead, it sends a change request to the unit supervisor(s). While the change request is waiting for approval, a Changes badge will display next to the shift.
- It is not possible to make further changes when a requested change is pending approval by the unit supervisor. Therefore, it is a best practice to request a change only once the shift is finished and all possible changes have been finalized.
- Once the unit supervisor approves the schedule will be updated with the requested change, and the Changes badge will disappear from the shift entry. If the unit supervisor denies the request, the changes will be discarded.
Note: If you cannot make changes to the start and/or end on the Shift Detail page, then your employee ID most likely does not have the necessary permissions. Only the Schedule Administrator can change these permission settings.
Note: Employees cannot use the Employee Center to request changes to vacant shifts.
Changing Activities
You may need to change the Activity list to record how you spent your time during a shift. A list of activities is associated with each unit. Eligible activities are created and maintained by the Schedule Administrator, and are linked to payroll and budget fields. If breaks or sleep hours need to be recorded, the Schedule Administrator will create corresponding activities.
To change activities:
- Navigate to the Shift Detail page of the particular shift for which you wish to change the activities.
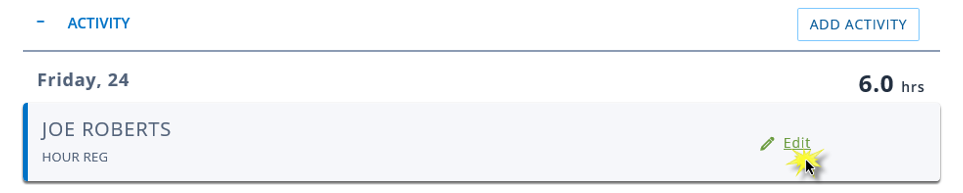
- Scroll down to the Activities collapsible section, hover over the activity and click to edit.
- More details for changing activities are explained in Unit Supervisor Actions under Changing Activities.
Note:The total duration of all activities must equal the duration of the shift. If you are editing the activities list, you may need to temporarily break this rule. An error message will be displayed on the shift detail page when the shift duration and the total of the activity durations do not match:
The Activity duration does not match the Shift duration.
Note: Activities cannot be created outside the start and end times of the shift, so a change request is needed if you need to extend the shift duration.
Requesting an absence from a shift
When available, you can ask a unit supervisor to remove you from an assigned shift, via the Request Absence button on the Shift Detail page. You may choose to simply be removed from the shift, in which case you must enter a comment explaining the reason. Optionally, you can select the Mark as Absent option to use a Cause of Absence code for the shift, in which case the comment field is optional. If the unit supervisor approves your request, you will be removed form the shift. If you selected the Mark as Absent option, a corresponding attendance record is created in the absence management system, and you cannot be chosen to fill another shift during the time of the absent shift.
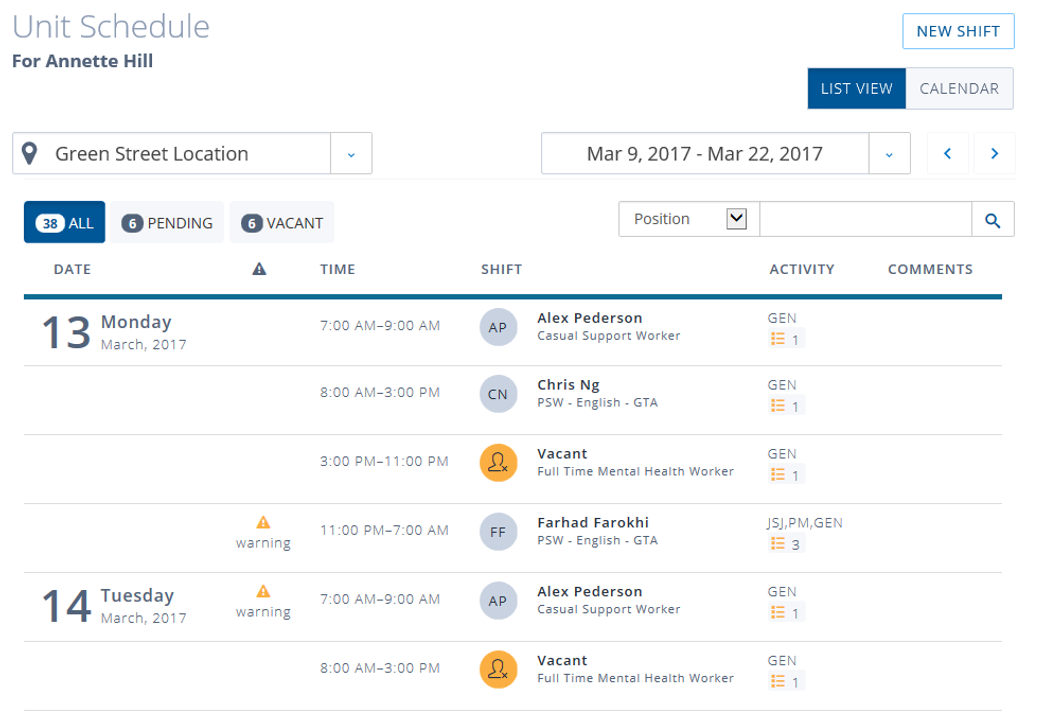
Checking the Overall Unit Schedule
Non-supervisory employees can access the Unit Schedule page to see a list of shifts associated with a specific unit. Unlike the My Schedule page, the Unit Schedule page presents groups by Pay Cycle periods. Depending on the unit configuration in NAV, you may or may not be able to see the names of other employees who are working in the unit during the selected time period. Once a shift is confirmed (worked) it will no longer show on the Unit Schedule for Employees. Supervisors will continue to see confirmed and non confirmed shifts in the Unit Schedule.
To view the overall unit schedule:
- From the Scheduling menu bar item, click the Unit Schedule link.
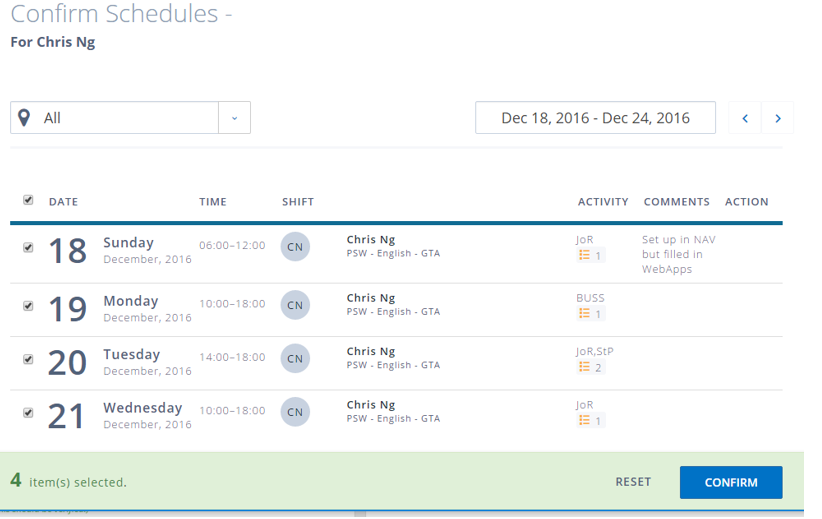
Confirming Shifts Worked
At the end of a pay period (or Pay Cycle) you will receive an email asking you to confirm the hours and activities for the shifts that you worked. You can confirm shifts or request correction if needed.
To review and confirm or request correction of shifts:
- From the Scheduling menu bar item, click the Confirm Shifts Worked link.
- You can review the details of each shift to be sure that the hours and activities are correct.
- For shifts which are correct, you can select the shifts using the check boxes on the left hand side of the list, then click Confirm.
- If shifts are not correct, you can click on the particular shift to open the Shift Detail page and initiate a change request.
- Once confirmed, shifts will no longer display in the Confirm Shifts Worked list.
- Once a shift is confirmed (worked) it will no longer show on the Unit Schedule for Employees. Supervisors will continue to see confirmed and non confirmed shifts in the Unit Schedule.