

If you are often required to post purchase lines with same information (GL, dimensions etc.) you can create standard codes and save them for repeated use. As per the following instructions, we will learn how to create these codes, assign to our vendors and use them every time we are creating new documents.
Creating codes
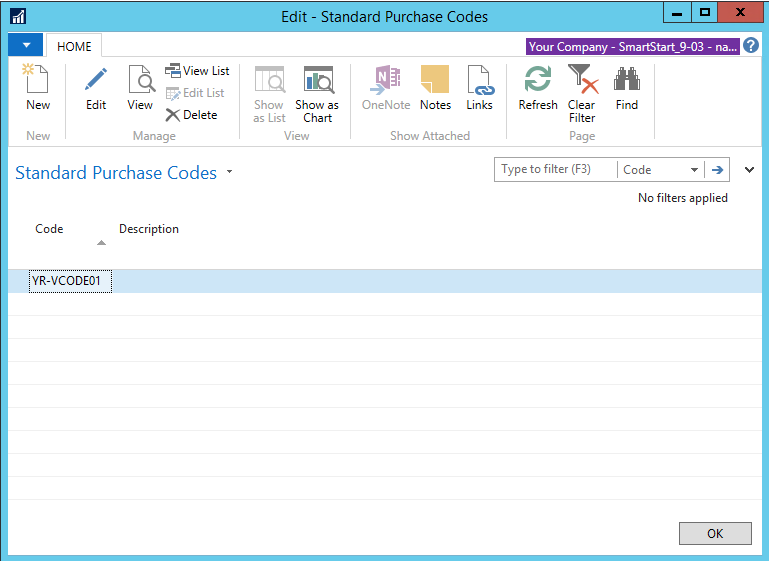
- In the Search box, enter Standard Purchase Codes and then choose the related link.

- On the Home tab, in the New group, choose New.
- On the new screen under General fast tab fill in the relevant fields.
- On the Lines fast tab enter information (invoice lines) that are repeated with all the standard fields.
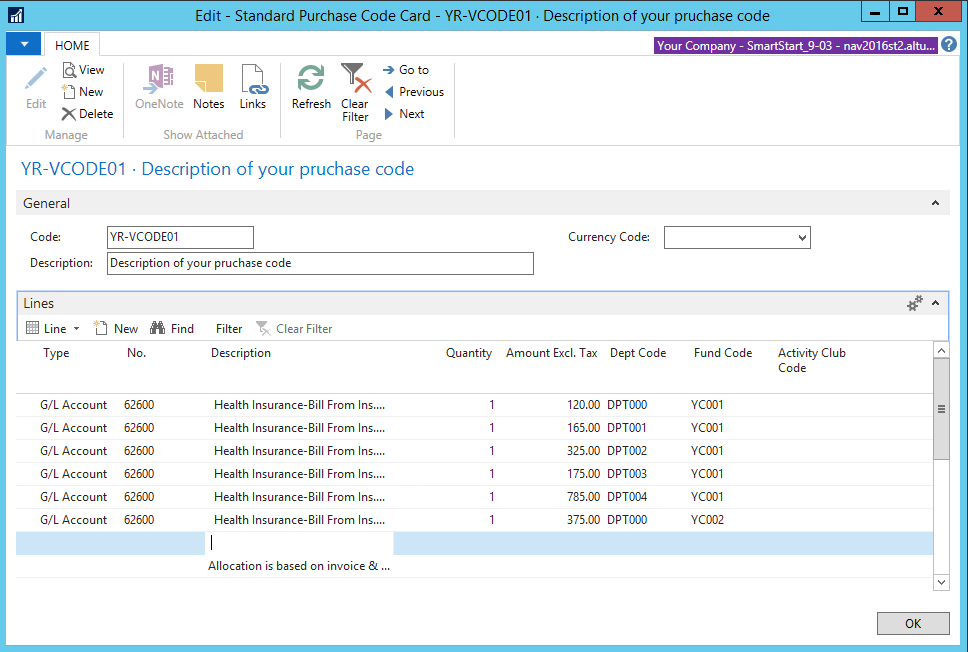
- When all lines are created press OK to save.
- Repeat the process for each code you want to setup.
Assigning codes to vendors
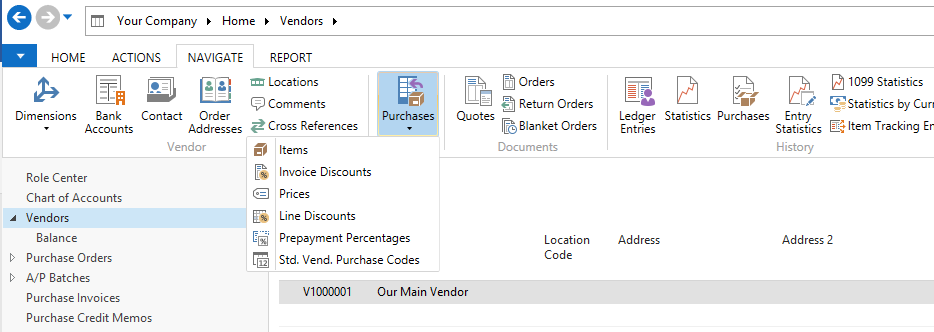
- In the Search box, enter Vendors, and then choose the related link.
- Select the vendor that you want to assign one or more codes to.
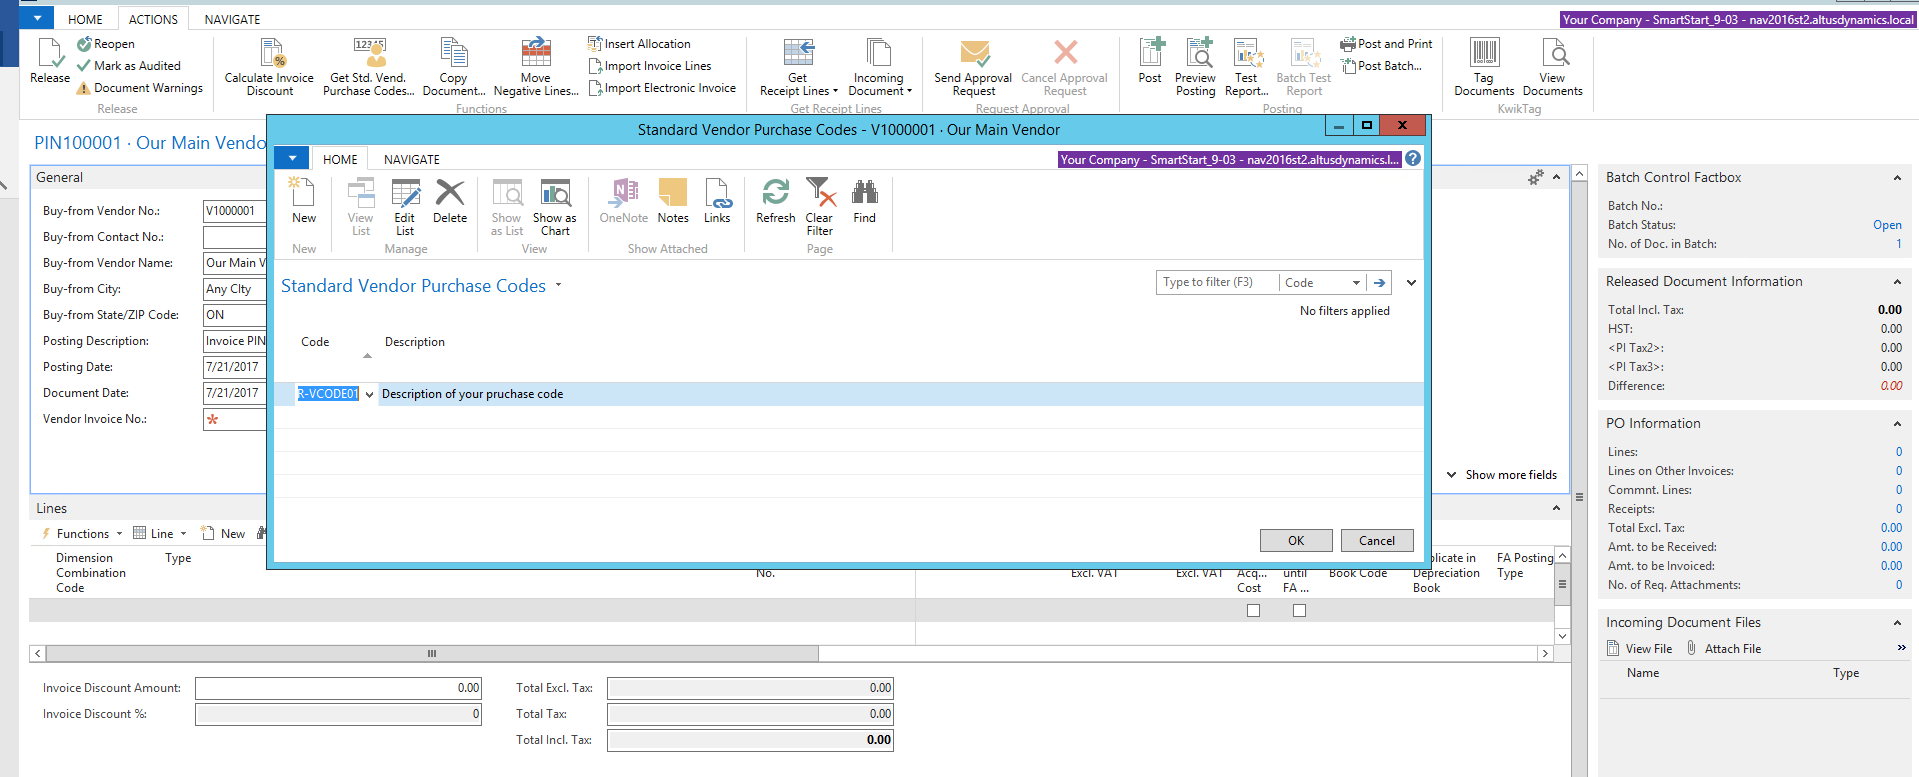
- On the Navigate tab, in the Purchase group, choose Std. Vend. Purchase Codes.
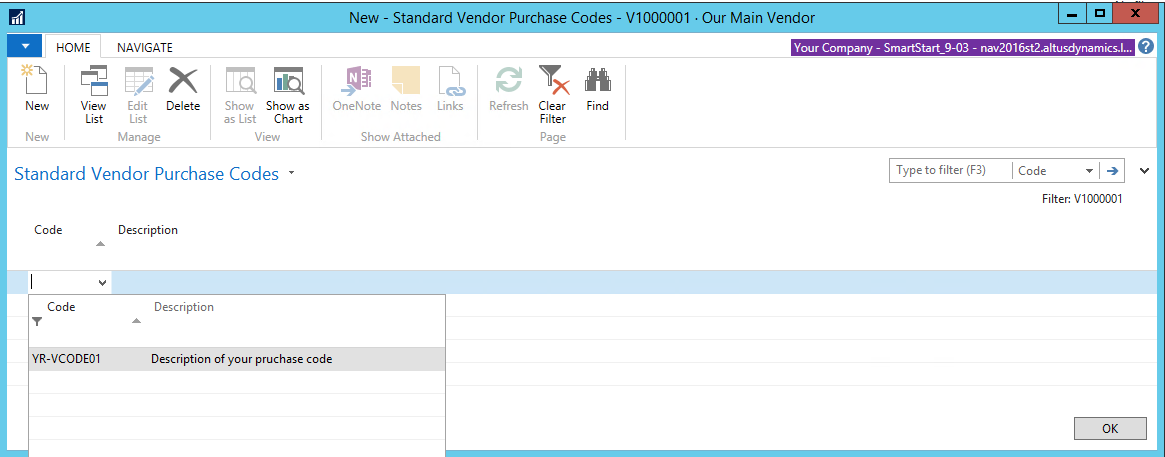
- Press Ctrl+N to insert a new line.
- In the Code field, select the code you want.
- Click OK to copy the code.
- Repeat these steps for each code you want to assign to the vendor.
Inserting standard purchase lines on a purchase invoice
- In the Search box, enter Purchase Invoices, and then choose the related link.
- In purchase invoice screen complete the General fast tab with necessary details.
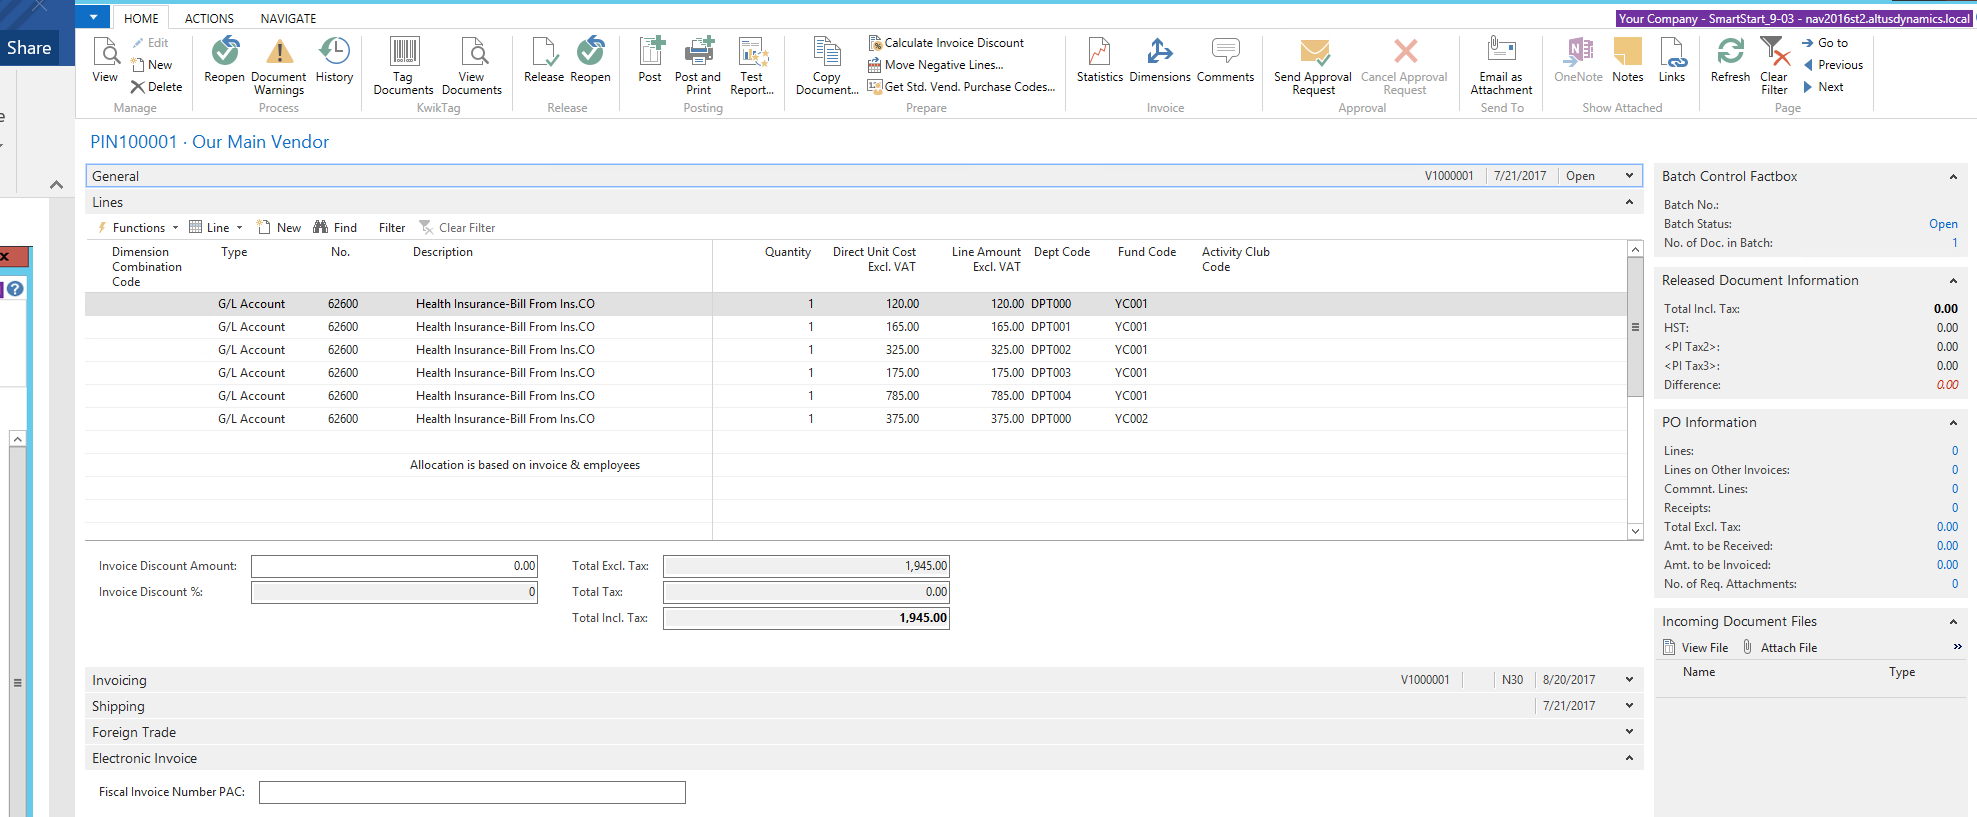
- On the Actions tab, in the Functions group, choose Get Std. Vend. Purchase Codes.
- In the Standard Vendor Purchase Codes window, select the line with the desired code.
- Choose OK to insert the standard purchase lines in the purchase invoice.
- Complete the rest of the invoice process as usual, populating the price/amount if fixed from month to month leave as is, and any other changes or additional information specific for current period.
Your time for processing regular recurring invoices is significantly reduced by following this procedure.