

Users often have to make payments to vendors using checks. You can perform this function using payment journals.
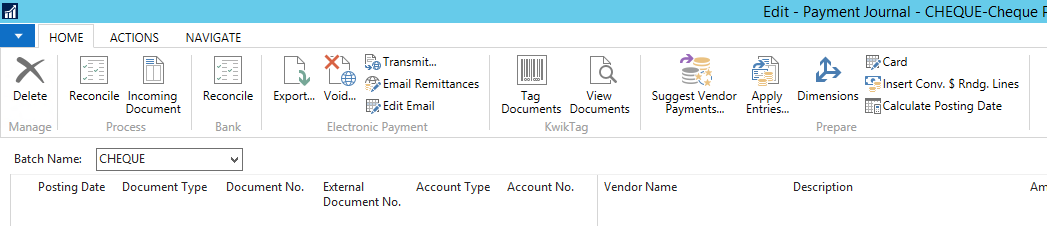
To get started, navigate to Department --> Financial Management -->Payable and select the Payment Journal. You can also use the search field to get there.
Generating payment entries
There are two ways to generate payment entries.
-
You can generate payment entries by using the Suggest Vendor Payment function.
-
Or you can choose a specific vendor and use the Apply Entries function.
Using the Suggest Vendor Payment function
NAV can suggest the payments that need to be processed based on the last payment date and other criteria.
- Select Suggest Vendor Payment from the ribbon on your payment journal as shown below:
- On the next screen you will define your filters like last payment date to cover, priorities, payment types, etc. in order to narrow your search:
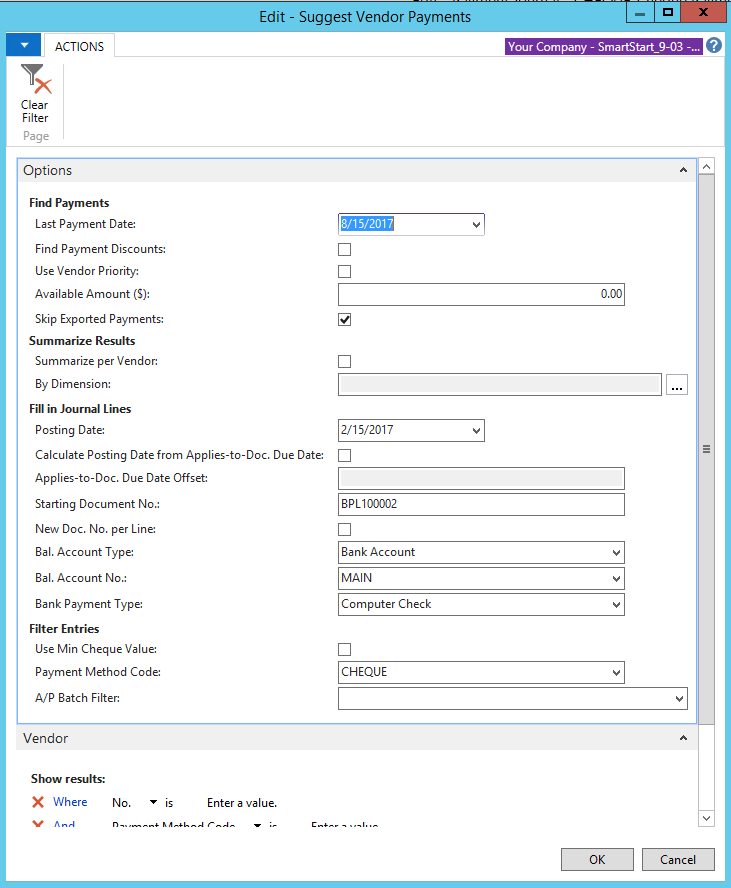
- Based on your selection, the system will suggest invoices for all vendors that are eligible for payment.
- Select the invoices to be paid and delete the rest.
Applying entries to a specific vendor
You can create payment journal entries for specific vendors and apply documents that you want to process against that payment using the Apply Entries function.
- In your payment journal, key in the Vendor No. field and click Apply Entries on ribbon. You will see a list of open vendor entries to select as shown:
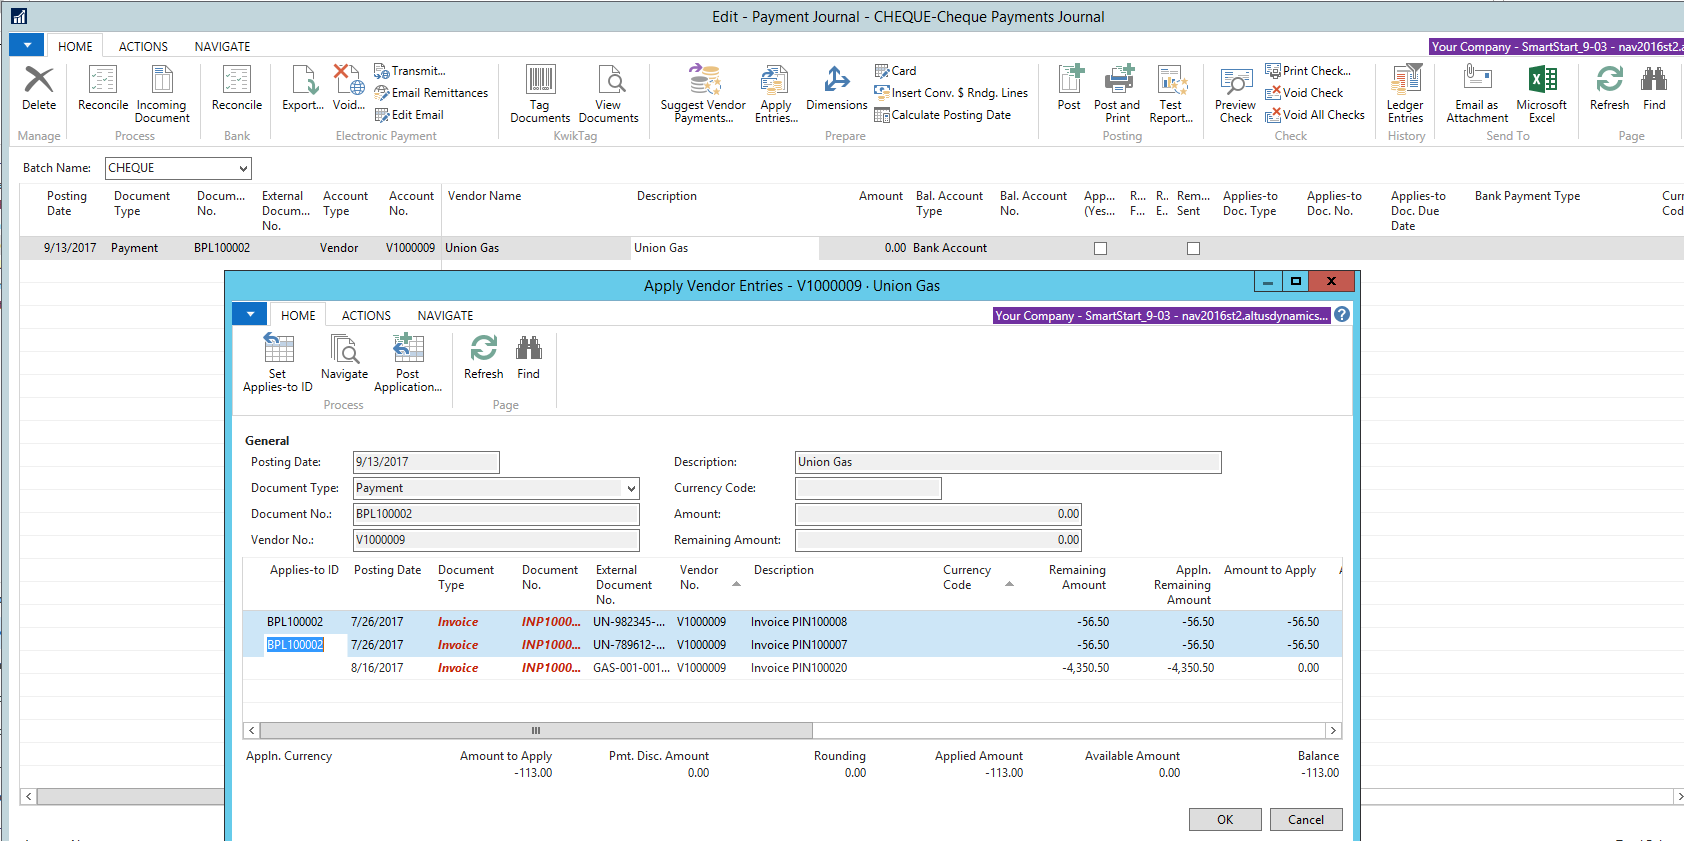
- Select the invoice(s) that you want to pay with this check and click on Set Applies to ID. The system will update your journal.
- Repeat the steps for other vendors to complete your invoice selections.
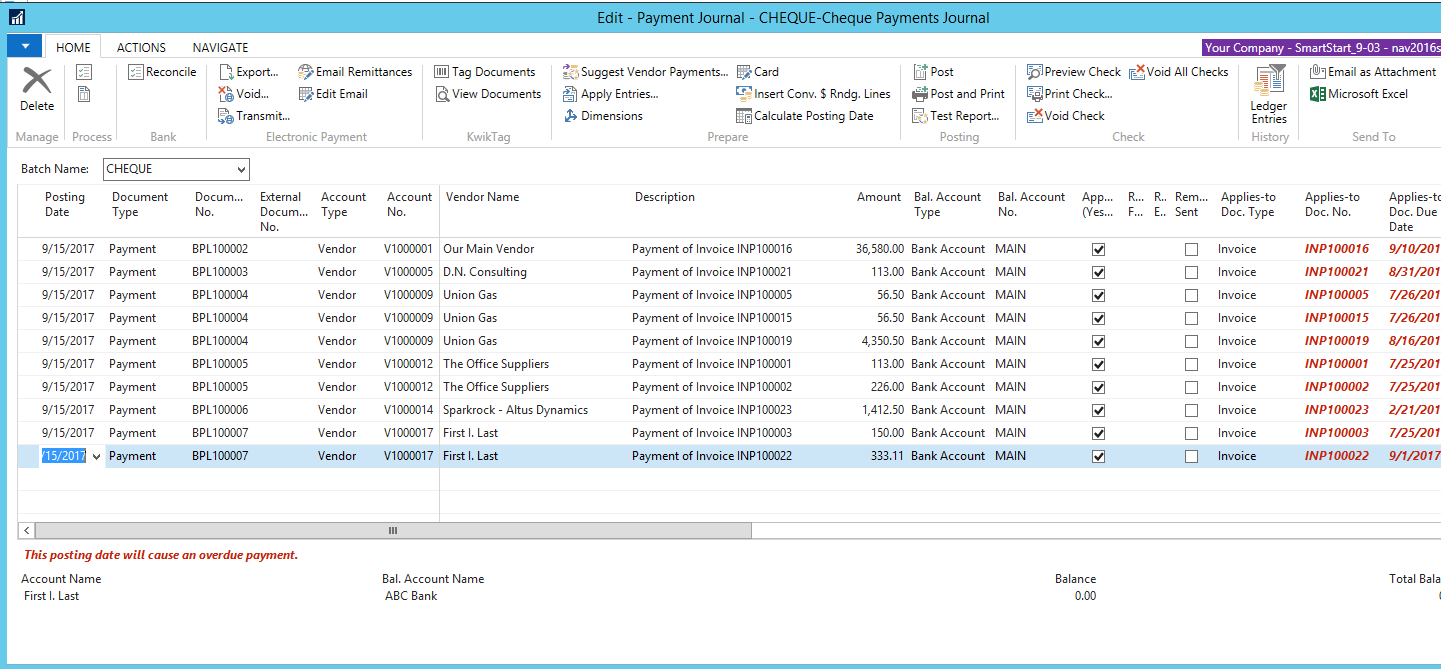
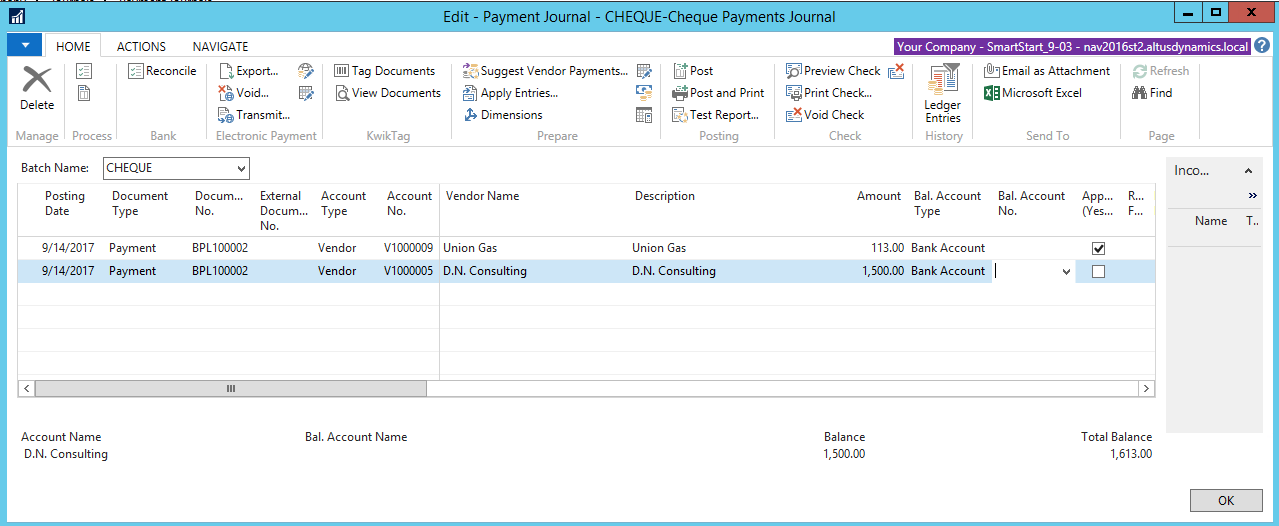
Note: If you are making a lump sum payment without specific invoices in mind you can skip the application step and enter the amount directly. - Based on your selection and entering non-applied lines (if required) your journal will look as follows:
Completing the payment process
Once you have finalized the list of invoices to pay you have to follow these steps to complete the check payment process.
- Complete the remaining fields on the journal and make sure the following fields are correctly entered:
| Field | Details |
| Bal. Account Type | Bank Account |
| Bal. Account No. | Bank account you wish to pay from |
| Bank Payment Type | Computer Check |
- The completed journal as shown is now ready for review, approval and printing the check. Once approved, click the Print Check icon on ribbon.

- Once the checks are printed and everything is in order you can post your journal to complete the payment process.
By following these steps will have made the vendor payments, as well as cleared the vendor open invoices.