

Occasionally, users will have to reverse or correct journal entry lines because of changes or entries booked incorrectly. Reversing journal entry lines helps users to reverse entries easily and correctly.
Reversing Journal Entries
When an incorrect general journal is posted, the posted ledger entries can be reversed in the corresponding registers. However, to reverse an entry, the following must be true of the original entry:
- The Journal Batch Name field must be completed in the G/L Register.
- Customer Ledger Entries must not be applied.
- Vendor Ledger Entries must not be applied.
- Bank Ledger Entries must not be closed by reconciliation.
- The total amount of the G/L Entries must equal zero.
- The entry must not include any Item Ledger Entries.
- The ledger entries must not have been created by a reversal.
After reversing entries, it can be posted in the same register. To reverse posted ledger entries from a register, follow these steps:
- In the Search field, type General Ledger and select the page from the drop-down list.
- From the History list, click G/L Registers.
The G/L Registers page displays.
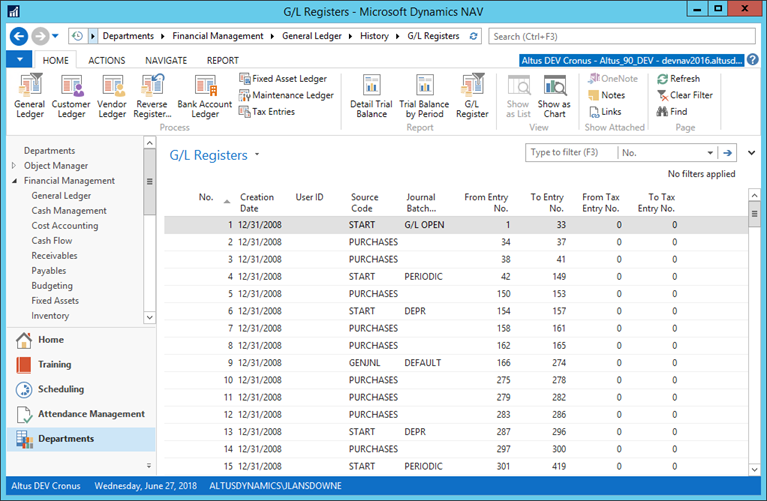
- Locate and select the register to be reversed.
- From the Ribbon, click Reverse Transaction.
The Reverse Register Entries page displays. - From the Ribbon, click Reverse.
- When the confirmation dialog appears, click Yes to reverse the entries.
- Click OK to the message that the entries were reversed.
- Review the fields on the reversing entry:
- The Source Code is Reversal.
- The Creation Date is the system date.
- The Posting Date is the original posting date of the entry.
- Close the G/L Registers page.
Posting Correction Entry Lines
Posted ledger entries cannot be changed or deleted in Microsoft Dynamics NAV 2016. However, you can correct the incorrect entries by posting one or more corrective entries using the general journal.
When you are correcting entries, selecting the Correction check box affects the way entries are posted.
To use the correction functionality, use the Form Designer to add the following fields to the General Journal page:
- Correction
- Debit Amount
- Credit Amount
If a check mark is not added in the Correction check box on the journal lines:
- The Amount field on the line must have the opposite sign of the original, incorrect entry.
- Positive amounts in the Amount field are posted as a positive amount in the Debit Amount field as usual.
- Negative amounts in the Amount field are posted as a positive amount in the Credit Amount field as usual.
If a check mark is added in the Correction check box on the journal lines:
- The Amount field on the line must have the opposite sign of the original, incorrect entry.
- Positive amounts in the Amount field are posted as a negative amount in the Credit Amount field.
- Negative amounts in the Amount field are posted as a negative amount in the Debit Amount field.
The Debit Amount and Credit Amount fields in the journal display the difference between corrections and usual postings.
After you post a correcting entry in a journal, the effect on the account that is used for posting is as follows:
If a check mark is added in the Correction check box:
- The original entry and correcting entry are posted to the same side of the account, either as debits or credits.
- The correcting entry has a negative sign. This is helpful when you run reports such as the Cash Flow Statement.
If a check mark is not added in the Correction check box, the original entry and correcting entry are posted to opposite sides of the account, one as a debit and the other as a credit.