

Creating Invoices
To create an invoice:
- Open Microsoft Dynamics NAV.
- In the Search field, type Sales Invoices and select the page from the drop down list.
The Sales Invoices page displays.
- From the Ribbon, click New to create a new invoice.
- Press the Tab key to have the system auto-assign a new sales invoice no. or simply click on the Sell-to Customer No. field.
- Type in the Sell-to Customer No. or use the lookup button or press F4 to access the customer list and select from the list and then press the Tab key.
- Press the Tab key to move to the next field and enter the information as required. Terms information is in the Invoicing FastTab if it needs to be modified from what is in the Customer Card.
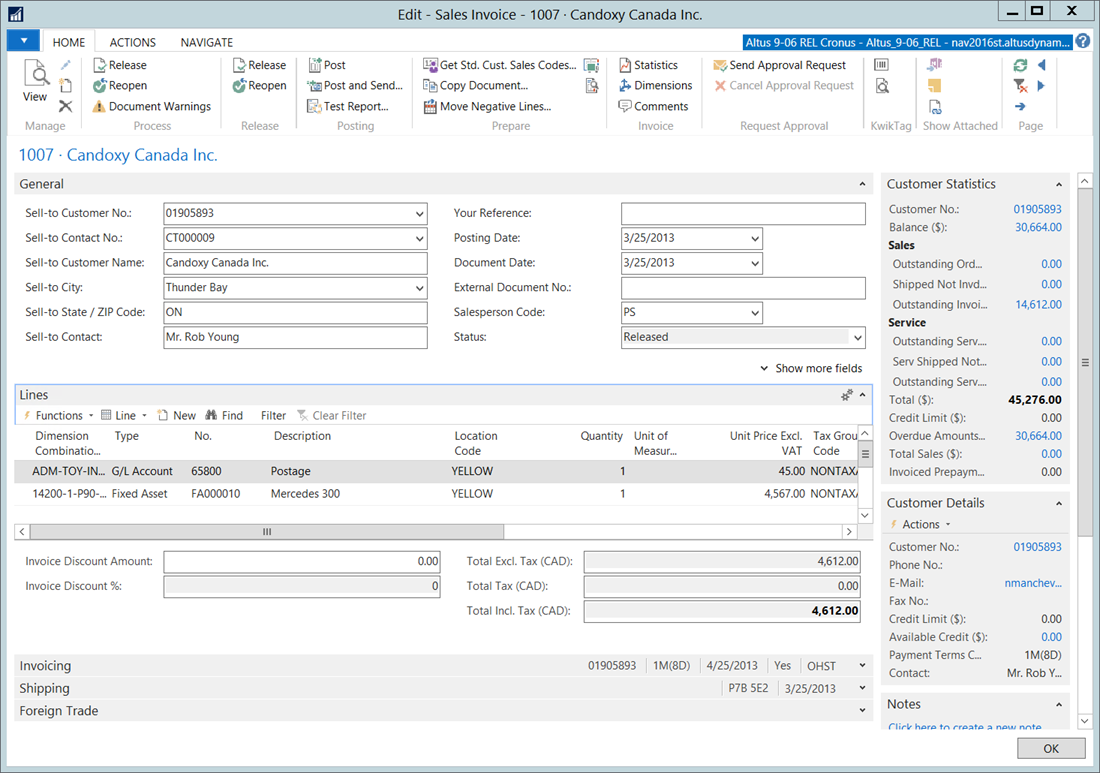
- Once in the Lines FastTab, the Type should be selected. The options are G/L Account, Item, Resource, Fixed Asset, Charge (Item). Use the drop down to select G/L Account or Item or type the first letter of the option and press the Tab key to select it.
- In the No. field, used the lookup button or press F4 to access the General Ledger chart of accounts or the list of Items in the system.
The description field will fill in based on the number selected, but can be modified. - In the Quantity field enter the amount sold and then press the Tab key.
- In the Unit Price Excl. Tax field enter the selling price and then press the Tab key.
- Review all the other defaults and modify them if necessary.
NOTE: Hide or Show columns in the detail area to make the system more useful. - To enter another detail line, click to a new line or hit <Ctrl +N> to insert a new line above the current line. Lines can be copied from a previously entered line by right-clicking the mouse and selecting Copy Rows. Add additional comments between lines by selecting a Type of ‘blank’ and typing in the Description field.
- If the invoice is completed, on Ribbon, click Navigate > Statistics (F7) from the Menu Bar to review the statistics of the invoice including margin%, profit, total amount, taxes etc.
- To release this invoice, if applicable, for approvals, on Ribbon, click Home (or Navigate) > Release. The Status will change to Released. Once released, no further changes are allowed. It can be reopened and changes made, on Ribbon, click Home (or Navigate) > Reopen.
- To post the invoice, on Ribbon, click Home (or Actions) > Post (or Post and Print). Alternatively each invoice can be entered separately and then posted in batch by selecting Actions > Posting > Post Batch and entering the filters to post by.
Viewing Posted Invoices
To see the invoices that has been posted in the Posted Sales Invoices page:
- Search for Posted Sales Invoices or on the Receivables menu, click History > Posted Sales Invoices.
- Go to the last posted sales invoice in the list and on Ribbon click Home > View.
- On the Ribbon, click Home (or Navigate) > Statistics to display the sales invoice statistics.