User Setup
- In the Search field, type User Setup and select the page from the drop-down list.
The User Setup page displays.
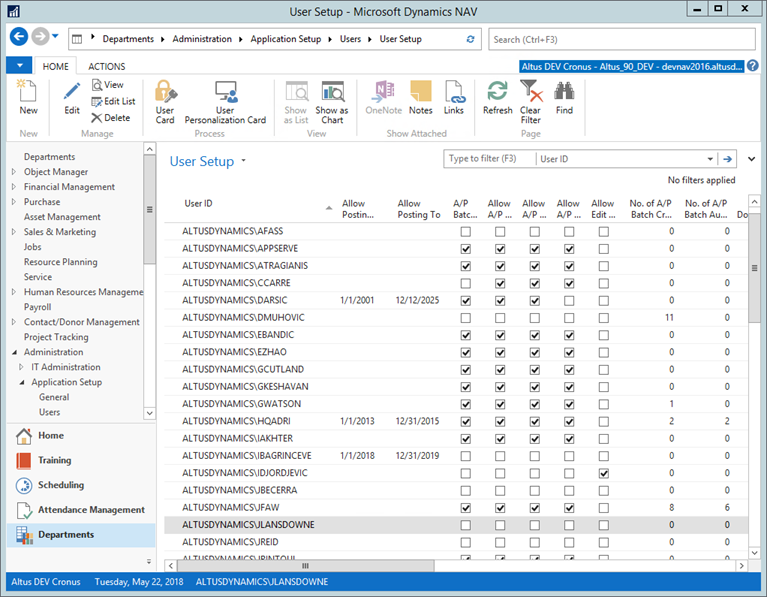
- Select the user that will be running the T4As, and from the Home Ribbon, click Edit.
The User Setup card displays. - Expand the Security tab.
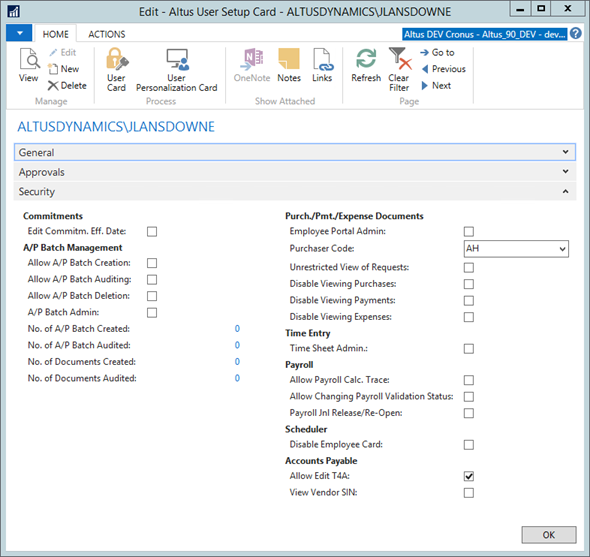
- Add a checkmark to the Allow Edit T4A check box.
- Click OK.
Company Information Setup
- In the Search field, type Company Information and select the page from the drop-down list.
The Company Information page displays. - Expand the Vendor T4A FastTab.
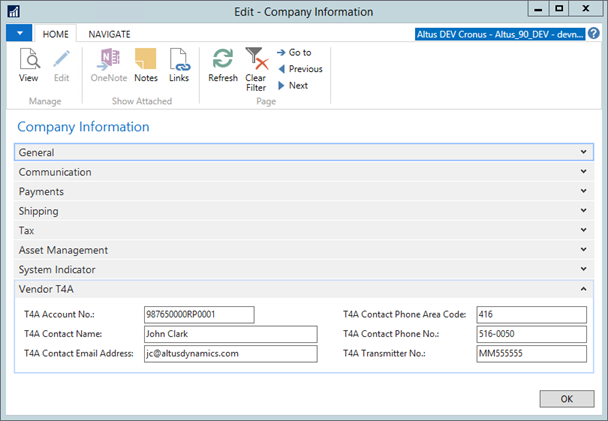
- Complete the Vendor T4A Fields. The telephone number format required is 3 numeric, followed by (-) and 4 numeric (for example, 999-9999). The T4A Transmitter No. field must be in the format MM + 6 numeric. For example: MM555555.
Notes:
- If you are filing one return only and do not have an existing Transmitter number please use generic transmitter number MM555555 to file this return. If you wish to obtain a Transmitter number, please call Revenue Canada 1-800-665-5164 to obtain one.
- If you will be filing more than one return, please use the Transmitter (MM) number that Revenue Canada assigned to you. If you do not have a transmitter number and will be filing more than 1 return, please call Revenue 1-800-665-5164 to obtain one.
- Click OK.
Vendor Card Setup
For each vendor that will be getting a T4A from Finance:
- In the Search field, type Vendors and select the page from the drop-down list.
The Vendors List displays.
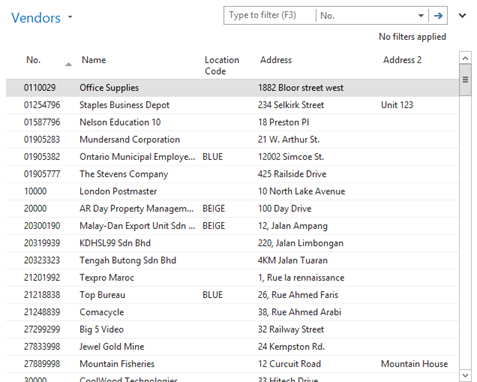
- Select the vendor that you want to configure and from the Home Ribbon click Edit.
The Vendor Card displays. - Expand the Vendor Reporting FastTab.

- If not already enabled, add a checkmark to the T4A Vendor checkbox.
- Complete the First Name and Last Name/Company Name fields.
Note: If the T4A vendor is a business entity, the business name has to appear in the Last Name field. - Complete the BN Number field. Use the format: <9 digits>RP<4 digits>
- Click OK.
View or Edit AP T4As Information
Use the following pages when working with T4As:
- T4A Posted Purch. Inv. Lines: use this page to view, add or remove the T4A flag and select T4A boxes for the applicable posted purchase invoice lines.
- Print AP T4A: use this page to print a pdf T4A.
- Export AP T4A to XML: use this page to create the export file for AP T4A.
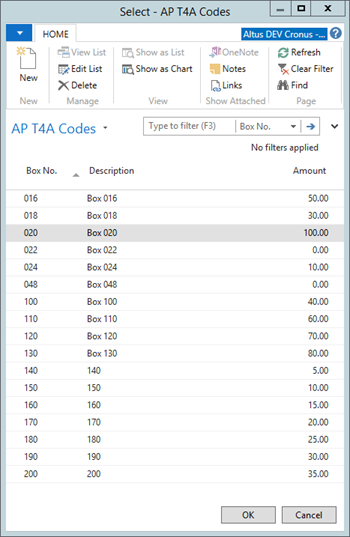
Note: You will need Sparkrocks assistance for the schema. Open a support case for this. - AP T4A codes: use this page to create your T4A box list.
Purchase Invoice Page Setup
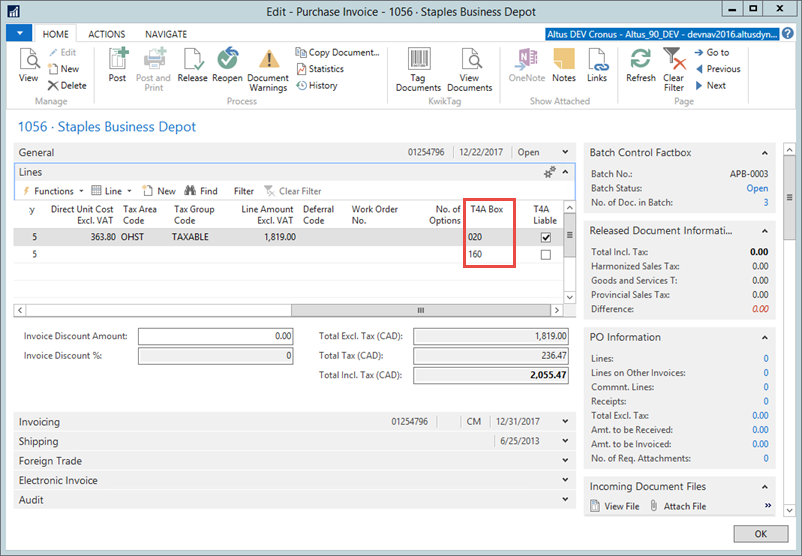
Make sure that the T4A column is visible on the Purchase Invoice page's Invoice line:
- Open the Purchase Invoice page.
- In the Lines FastTab, click the Actions icon and then click Customize.
The Customize Lines page displays.
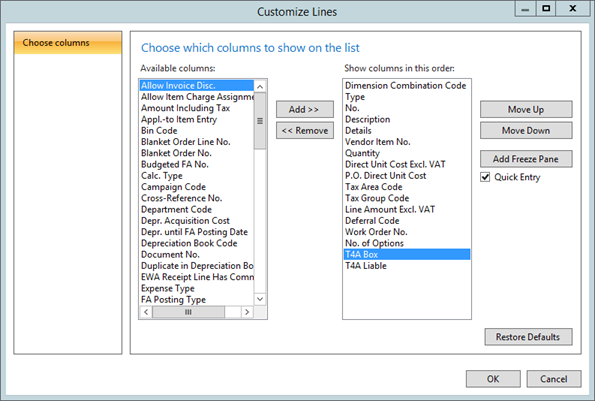
- Move the T4A Box column to the Show Columns in This Order field.
- Click OK.
- When working on the invoice you must select the T4A Box for the line:
- Configure your AP T4A boxes. This is the list you will see when choosing the box for your invoice line.