

The Finance granule stores bank account, vendor, and remittance advice settings information. To initialize Electronic Funds Transfer (EFT), you need to supply additional details to these sections that are used by the EFT process.
The following EFT formats are supported:
- For Canadian customers, use ETF export format.
- For American customers, use CTX format.
Setting up bank accounts for EFT
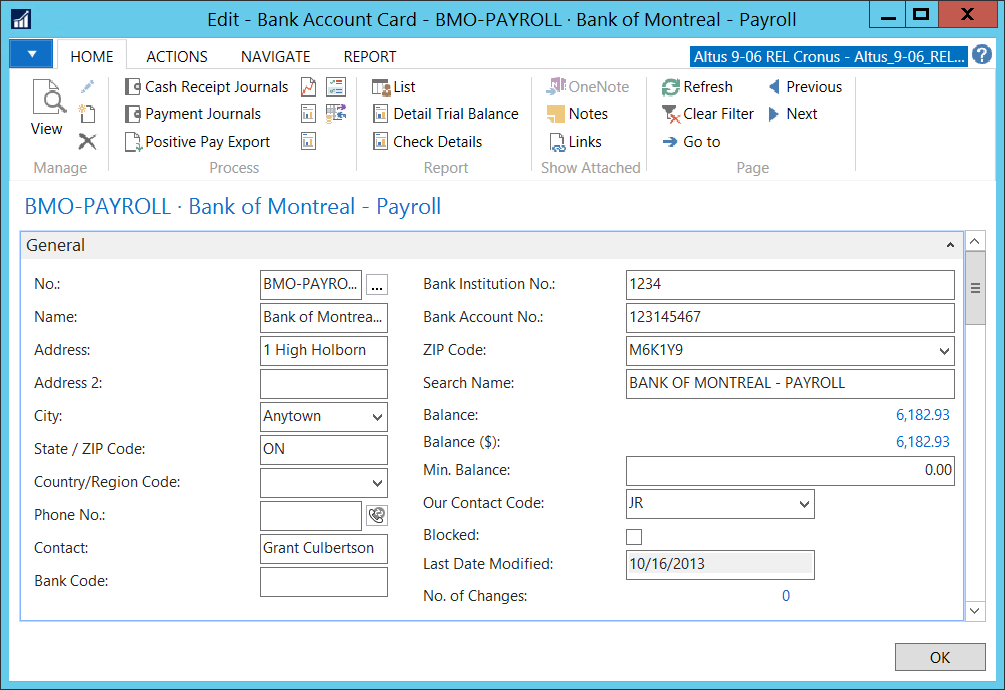
The banks you use within your organizations are each stored as a separate Bank Account card. For bank accounts that you want to use for processing electronic payments – for sending payment to vendors, using direct deposit for leave continuance, and defining pre-authorized payments, you need to provide some additional information.
Within the Bank Account card, there are two tabs; Posting and Transfer, which relate directly to the electronic funds transfer process. The details for what you need to provide in these tabs is described in the following sections.
Note: To use ETF you must provide the bank number in both the in both the Bank Institution No. and the Transit No. fields on the Bank Account card.
Accessing the bank account card
To access bank account information:
- In the Search field, enter Bank Accounts.
- Select Bank Accounts.
The Bank Accounts List opens displaying the list of bank accounts set up for your organization.
(If the bank account you want to use is not listed, you may need to create a new bank account. On the Ribbon, click New.) - Double-click the bank account you want.
The Bank Account card for the selected bank opens.
Providing the posting information
The Posting section enables you to track your EFTs with a specific numbering system and to post the transactions to your Bank and check ledgers for reconciliation/accounting purposes.
To provide the required posting information:
- In the Bank Accounts card, click the Expand icon next to the Posting FastTab:
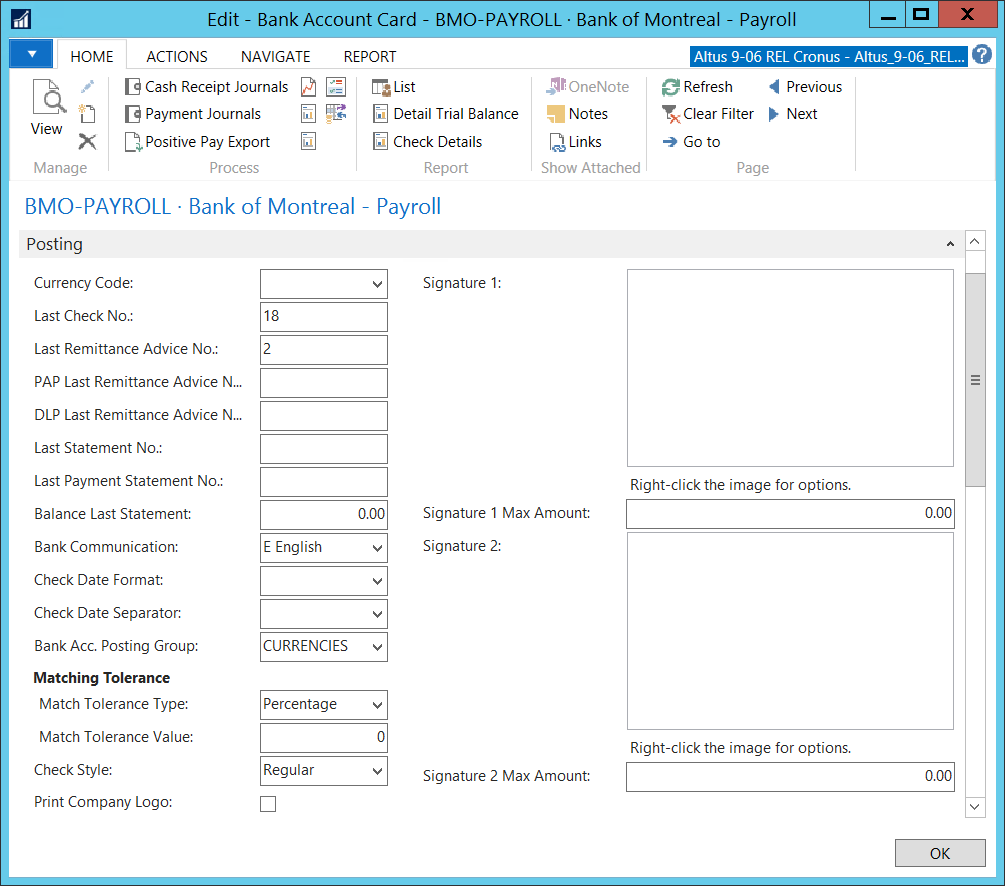
- Complete the required fields using the following table.
| Field Name | Description |
|
Last Remittance Advice No. |
This field is used to setup Remittance Advice number sequence. Enter the starting point for the serial number to be used as the Remittance Advice document number. This number will be used to populate the Bank Ledger and check Ledger entries. |
|
Bank Account Posting Group |
The bank account should be linked to a G/L Account. From the drop-down list, select the appropriate account/posting group. |
|
PAP Last Remittance Advice No. |
Enter the starting point for the serial number to be used as the Pre-authorized Payment Remittance Advice document number. (This field is used to setup PAP Remittance Advice number sequence and will be used to populate the Bank Ledger and check Ledger entries.) |
|
DLP Last Remittance Advice No. |
Enter the starting point for the serial number to be used as the Deferred Leave Plan Remittance Advice document number. (This field is used to setup DLP Remittance Advice number sequence and will be used to populate the Bank Ledger and check Ledger entries.) |
- See the next section, ‘Providing the Funds Transfer Details’ to complete the process.
Providing the funds transfer details
The Transfer section is where you specify the required details for initiating an EFT. For example, you need to provide the banking institution details and appropriate file formats and fund type for processing transactions from the bank to your vendors.
To provide the required transfer information:
- In the Bank Account card, click the Expand icon next to the Transfer FastTab.
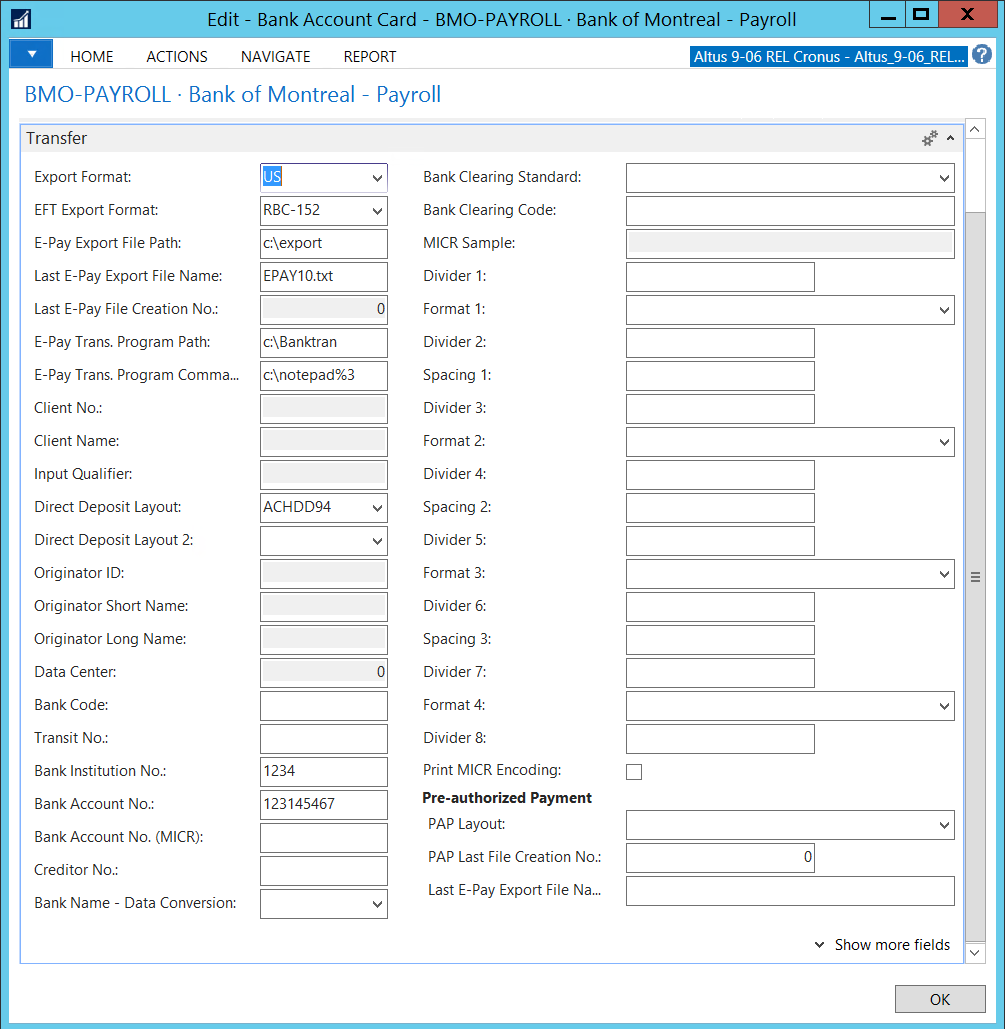
- Complete the required fields using the following table:
| Field Name | Description |
|
Export Format |
From the drop-down, select the appropriate format. For Canada: CA |
|
EFT Export Format |
Choose your bank format from the drop-down list. |
|
E-Pay Export File Path |
Example: c:\test\ Enter a full directory path, starting with the drive letter and ending with a back slash (\). The file name is not included here. This is where the Export file is placed when it is created. |
| Last E-Pay Export File Name |
Example: TEST010.txt |
| E-Pay Trans. Program Path |
Example: C:\Banktran\ Enter a full directory path, starting with the drive letter and ending with a back slash (\). The file name is not included here. We recommend that you use the directory where your bank's transmission program is installed. For example, C:\Banktran\ might be an entry for this field. During the transmission process, the export file will be copied from the E-Pay Export File Path to the E-Pay Trans. Program Path. For this reason, it is vital that this field is not the same as theE-Pay Export File Path field. This is where the system moves the Export File. The file then becomes the Transmit File. A copy of the file remains in this directory even after the transmission to the bank is complete. |
| E-Pay Trans. Program Command |
Example: notepad%3 Enter the command line that you would normally use to start up the bank transmission program. The first word will be the name of the program, and the remaining words will be the command arguments that must be used. The following "argument substitutions" can be used: %1 = the E-Pay Trans. Program Path %2 = the name of the export file being transmitted %3 = the E-Pay Trans. Program Path followed directly by the name of the export file being transmitted For example, Transmit %2 might be a possible entry for this field. Note that before this command is called, the working directory is first changed to that in the E-Pay Trans. Program Path field. |
| Last E-Pay File Creation No. | Specifies the last e-pay file creation number. This number represents the last direct deposit file that was created and transmitted to the bank. |
| Client No. | These will be provided to you by your bank (field mandatory). |
| Client Name | These will be provided to you by your bank (field mandatory). |
| Input Qualifier (Y) | These will be provided to you by your bank. |
| Direct Deposit Layout | Indicates the template to use for how the direct deposit is transmitted to the bank for payment. From the drop-down, select the applicable option. |
| Direct Deposit Layout 2 | Indicates the template to use for how the direct deposit is transmitted to the bank. It is part of the Payroll configuration for Deferred Leave Plan. From the drop-down, select a layout option. |
| Originator ID | As provided by the bank. |
| Originator Short Name | As provided by the bank. |
| Originator Long Name | As provided by the bank (if required in the bank specification). |
| Data Center | As provided by the bank (if required in the bank specification). |
| Transit No. | Bank Account Transit Number. |
| Bank Account No. | Bank Account Number. |
| Bank Institution No. | Bank Account Branch Number. |
| Pre-authorized Payment NOTE: The pre-authorized payment option is a Payroll function. |
|
| PAP Layout | Indicates the template to use for how the pre-authorized payment is transmitted to the bank. From the drop-down, select the layout option. |
| PAP Last File Creation No. |
Identifier that indicates the last file creation number. The field is automatically updated with each file generated. Enter a number. This file name should be integers only because the program will attempt to increment it each time it is exported using the value in Last PAP File Creation No. This way, you will maintain a permanent record of every file you export to the bank. |
| Last E-Pay Export File Name | Used for this type of payment. Enter a value which is updated with the next file being generated. Example: TEST010.txt |
- When you finish, click OK to close the Bank Account card.
Setting up vendors for EFT
For each vendor that you want to pay through EFT, you need to update the Vendor card to indicate that payment to the vendor will be made through an electronic funds transfer.
Adding the EFT as a payment method
If this is not previously set up, you need to define EFT as a unique payment method to identify entries as Electronic Payment when selecting a vendor to pay.
To add EFT as a payment method:
- In the Search field, enter Payment Methods.
- Select any of the available options.
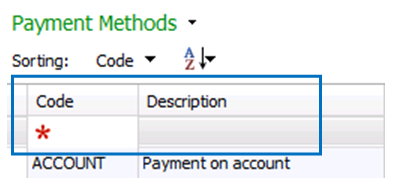
The Payment Methods List displays.
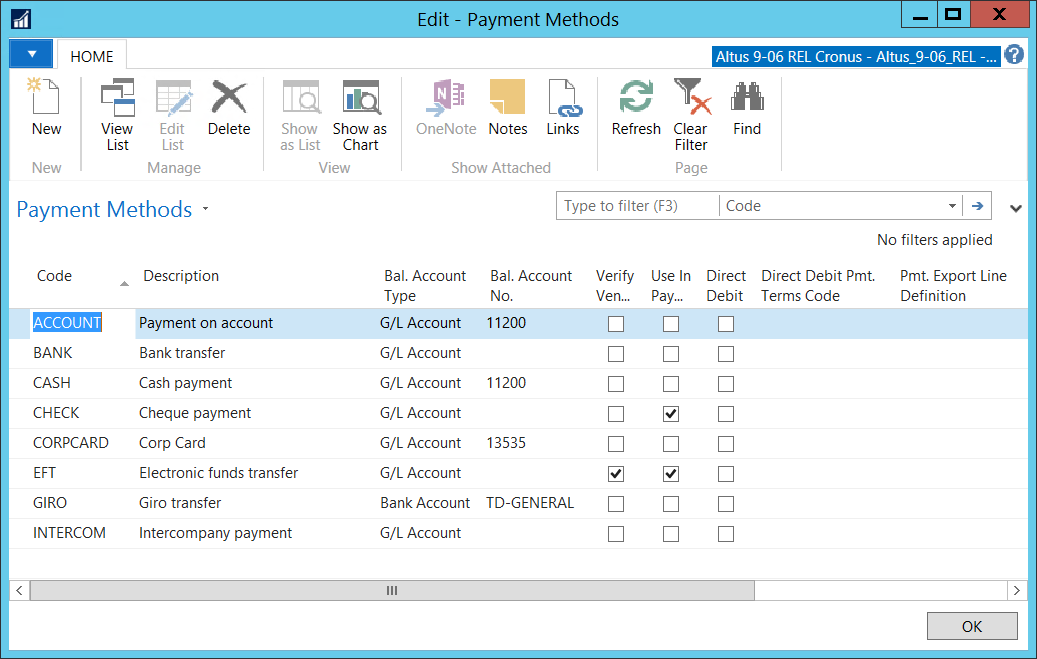
- On the Ribbon, click New.
A new record is added to the Payment Methods list.
- Complete the required fields using the following table:
| Field Name | Description |
|
Code |
Enter a code for the new payment type. EFT for electronic funds transfer. |
|
Description |
Enter a brief description. For example, electronic funds transfer. |
|
Use In Payment Request |
To indicate that the payment method can be used/be an option in Payment/Expense Requests, click this check box. |
- When you finish, click OK.
The EFT payment method is added to the Payment Methods list.
Indicating EFT payments for a vendor
The Vendor card needs to be updated to indicate the appropriate payment method (EFT) for a vendor’s accounts payable transactions.
The selected method is then used as a default value when processing AP Invoices.
To indicate EFT as the default payment method for a vendor:
- In the Search field, enter Vendors.
Select any of the ‘Vendors’ options. - Double-click anywhere over the row for the vendor to which you want to update the payment method. (If your list of vendors in extensive, use the Filter fields to perform a search.)
The Vendor card opens for the selected vendor.
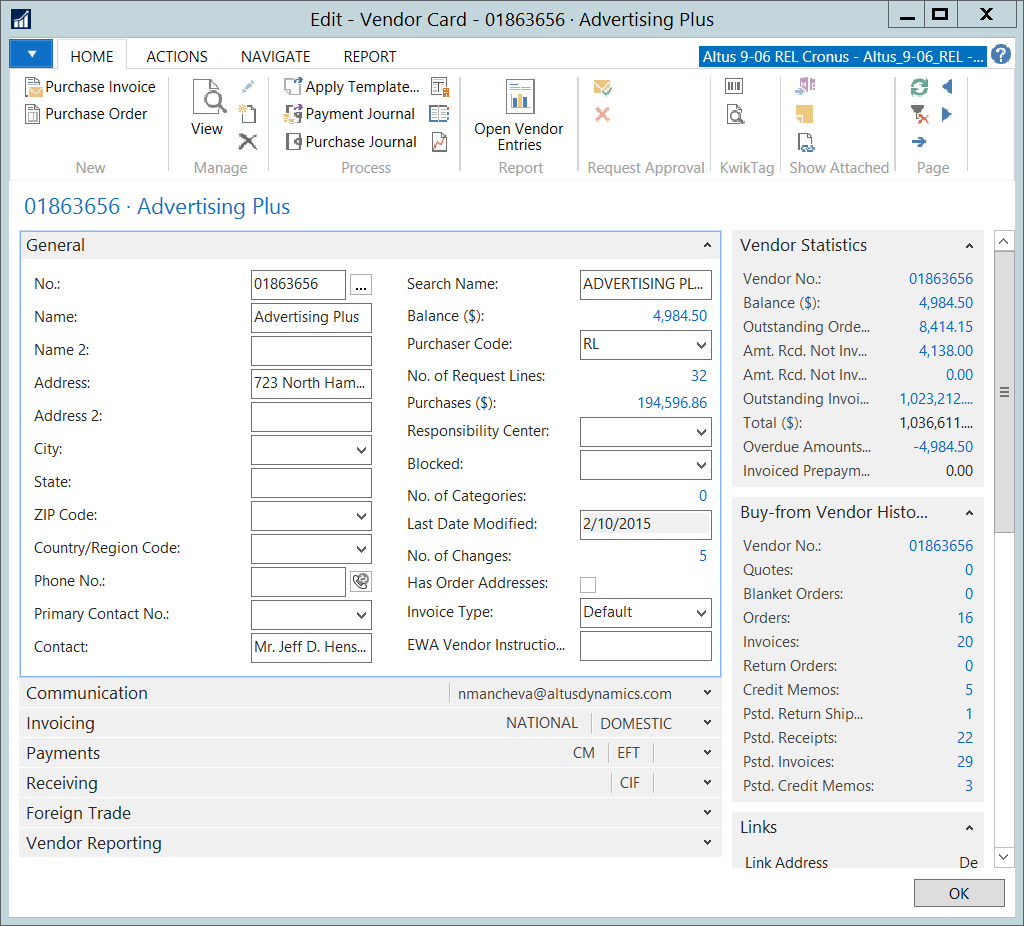
- Click the Expand arrow next to the Payments FastTab.
The Payments fields display.
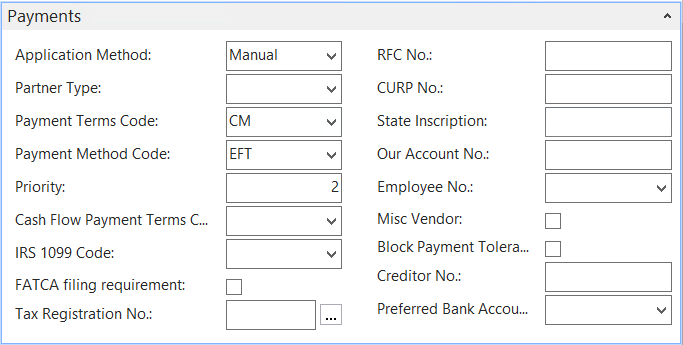
- From the Payment Method Code drop-down list, select EFT.
- Click OK.
- The Vendor list re-opens.
- Repeat these steps for any vendors for whom you want to process payment using EFT.
Recording the vendor bank account information to the vendor card
The next step in setting up a vendor for receiving EFT transactions is providing the vendor’s banking information for completing the deposit/transfer.
To record the vendor bank account information:
- In the Vendors list, double-click a vendor to open the associated Vendor card.
- Click the Navigate menu tab.
- On the Ribbon, click Bank Accounts.
The Bank Accounts list opens. - On the Ribbon, click New.
NOTE: If the vendor already has the bank account card added, you can edit the existing one. Select the bank account line and on the Ribbon, click Edit.
A new Vendor Bank Account card displays.
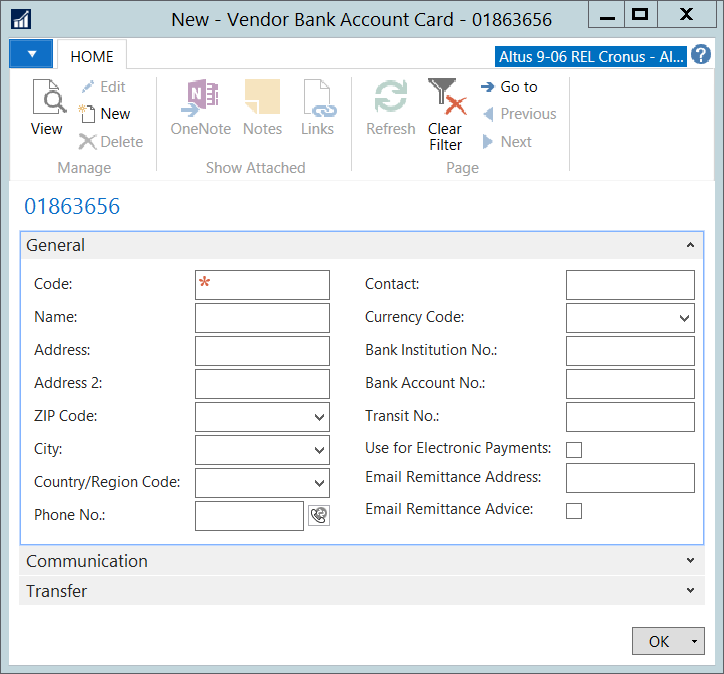
- Use the following table to complete the required fields in the General FastTab (only the mandatory fields are included in the table).
| Field Name | Description |
|
Code |
Enter a code for this entry based on your standard naming/number conventions. |
|
Bank Institution No. |
Enter the vendor’s bank branch number. |
| Bank Account No. |
Enter the vendor’s bank account number. Enter only the digits. Do not enter any hyphens, spaces, or any other characters. |
| Transit No. | Enter the vendor’s bank transit number. |
| Use for Electronic Payments | Click to add a checkmark in this box. This must be checked off to enable EFT. |
| Email Remittance Advice | Click to add a checkmark in this box to indicate that the remittance advice should be sent by email. This must be checked off to enable the remittance advice to be sent. |
| Email Remittance Address | To send an email statement to the vendor indicating the payment, enter the vendor’s email address here. |
- Click OK.
- Repeat this procedure for any additional vendors you want to set up for electronic payment.
Defining remittance advice details
You can use a standard remittance notification letter for sending to vendors once their electronic payment has been transmitted to your bank. The remittance advice letter is generated as a PDF, which is automatically emailed to the applicable vendors.
To set up remittance advice details:
- In the Search field, enter Purchases & Payables Setup.
- Select any of the options displayed.
The Purchases & Payables Setup card displays.

- Click the Expand arrow next to the PDF Remittances FastTab.

- Use the following table to complete the fields in the PDF Remittances section.
| Field Name | Description |
|
PDF Remittance From Name |
Enter text to appear in the From line. For example, Accounting Services. |
| PDF Remittance From E-mail |
Enter the email address from which the remittance advice is originating. A generic e-mail for sending remittance advices to vendors. |
| PDF Remittance Subject Line |
Enter text to appear in the Subject line. For example, Remittance Advice. |
- When you finish added the remittance advice details, click OK to close the window.
Adding your Business Identification Number for tax purposes
You’ll need to makes sure your federal Business Identification Number (BIN) is recorded before you can initiate EFT.
To record you Federal BIN number:
- In the Search field, enter Company Information.
- Select either of the options that display.
The Company Information card opens.
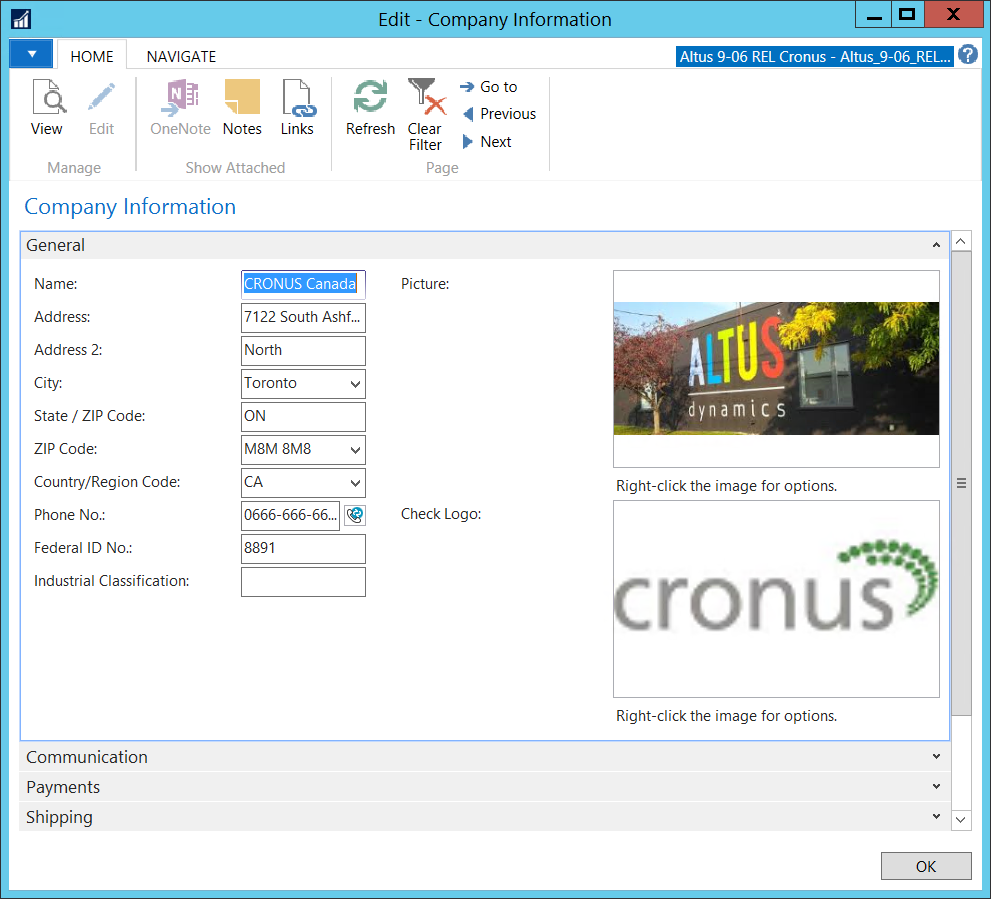
- In the Federal ID No. field, enter your business number.
- Click OK.
Providing the SMTP information for e-mail setup
The next step in setting up EFT transmission is defining your SMTP setup information for sending the remittance advice notifications automatically.
NOTE: For assistance in completing this task, consult your internal IT Department.
To add your SMTP Mail information:
- In the Search field, enter SMTP Mail Setup.
- Select the option.
The SMTP Mail Setup card displays.
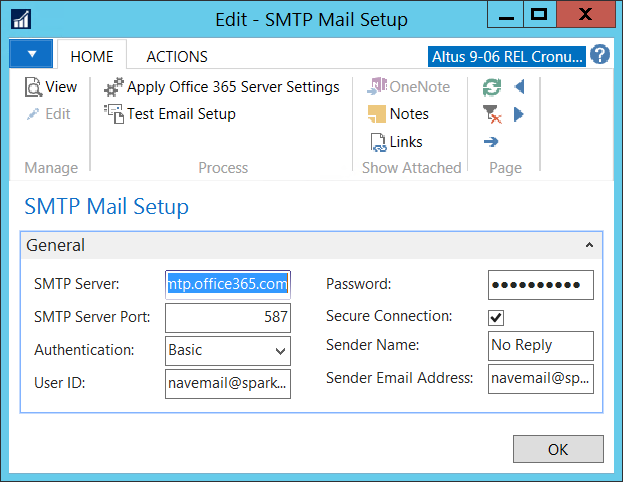
- Use the following table to complete the fields in the SMTP Mail card:
| Field Name | Description |
|
SMTP Server |
Enter your SMTP Server IP or name. (This information may already be provided.) |
|
SMTP Server Port |
Enter your SMTP port number. |
|
Authentication |
From the drop-down list, select a value. (Consult your internal IT Department if you are unsure of what value to select.) |
|
User ID |
Enter the User ID to be associated with this mail setup. This is optional and is based on the method of authentication selected. For example, if you selected Anonymous or NTLM, then a user ID and password are not required and these fields are not editable). |
| Password |
Enter the Password to be associated with this mail setup. This is optional and is based on the method of authentication selected. For example, if you selected Anonymous or NTLM, then a user ID and password are not required and these fields are not editable). |
| Secure Connection | Select this check box if a secure connection is required. |
| Sender E-mail Address | Fill in a default sender e-mail. (Not required for EFT but required for completing the SMTP setup.) |
| Sender Name | Fill in a default sender name. (Not required for EFT but required for completing the SMTP setup.) |
- Click OK.
Configuring the temporary server file path
Remittance Advices are stored temporarily on the server before being sent through email. You need to define the Server file (PDF) path to this temporary storage location.
To configure the temporary server file path:
- In the Search field, enter Email Setup.
- Select Email Setup.
The Email Setup card displays. - In the Server PDF Path field, enter the temporary storage location. (This should be a location on the service tier server where the Remittance Advices will be stored temporarily before sent via email.)
- Click OK.